Dissertation consultation on Tuesday. At this point the writing was still lagging behind the practical work: I knew the title and the method, but the literature needed to catch up with what I was learning through making. What the RtD framing does well is that it makes the prototypes and user testing the argument, not just illustrations of a separate theoretical point.
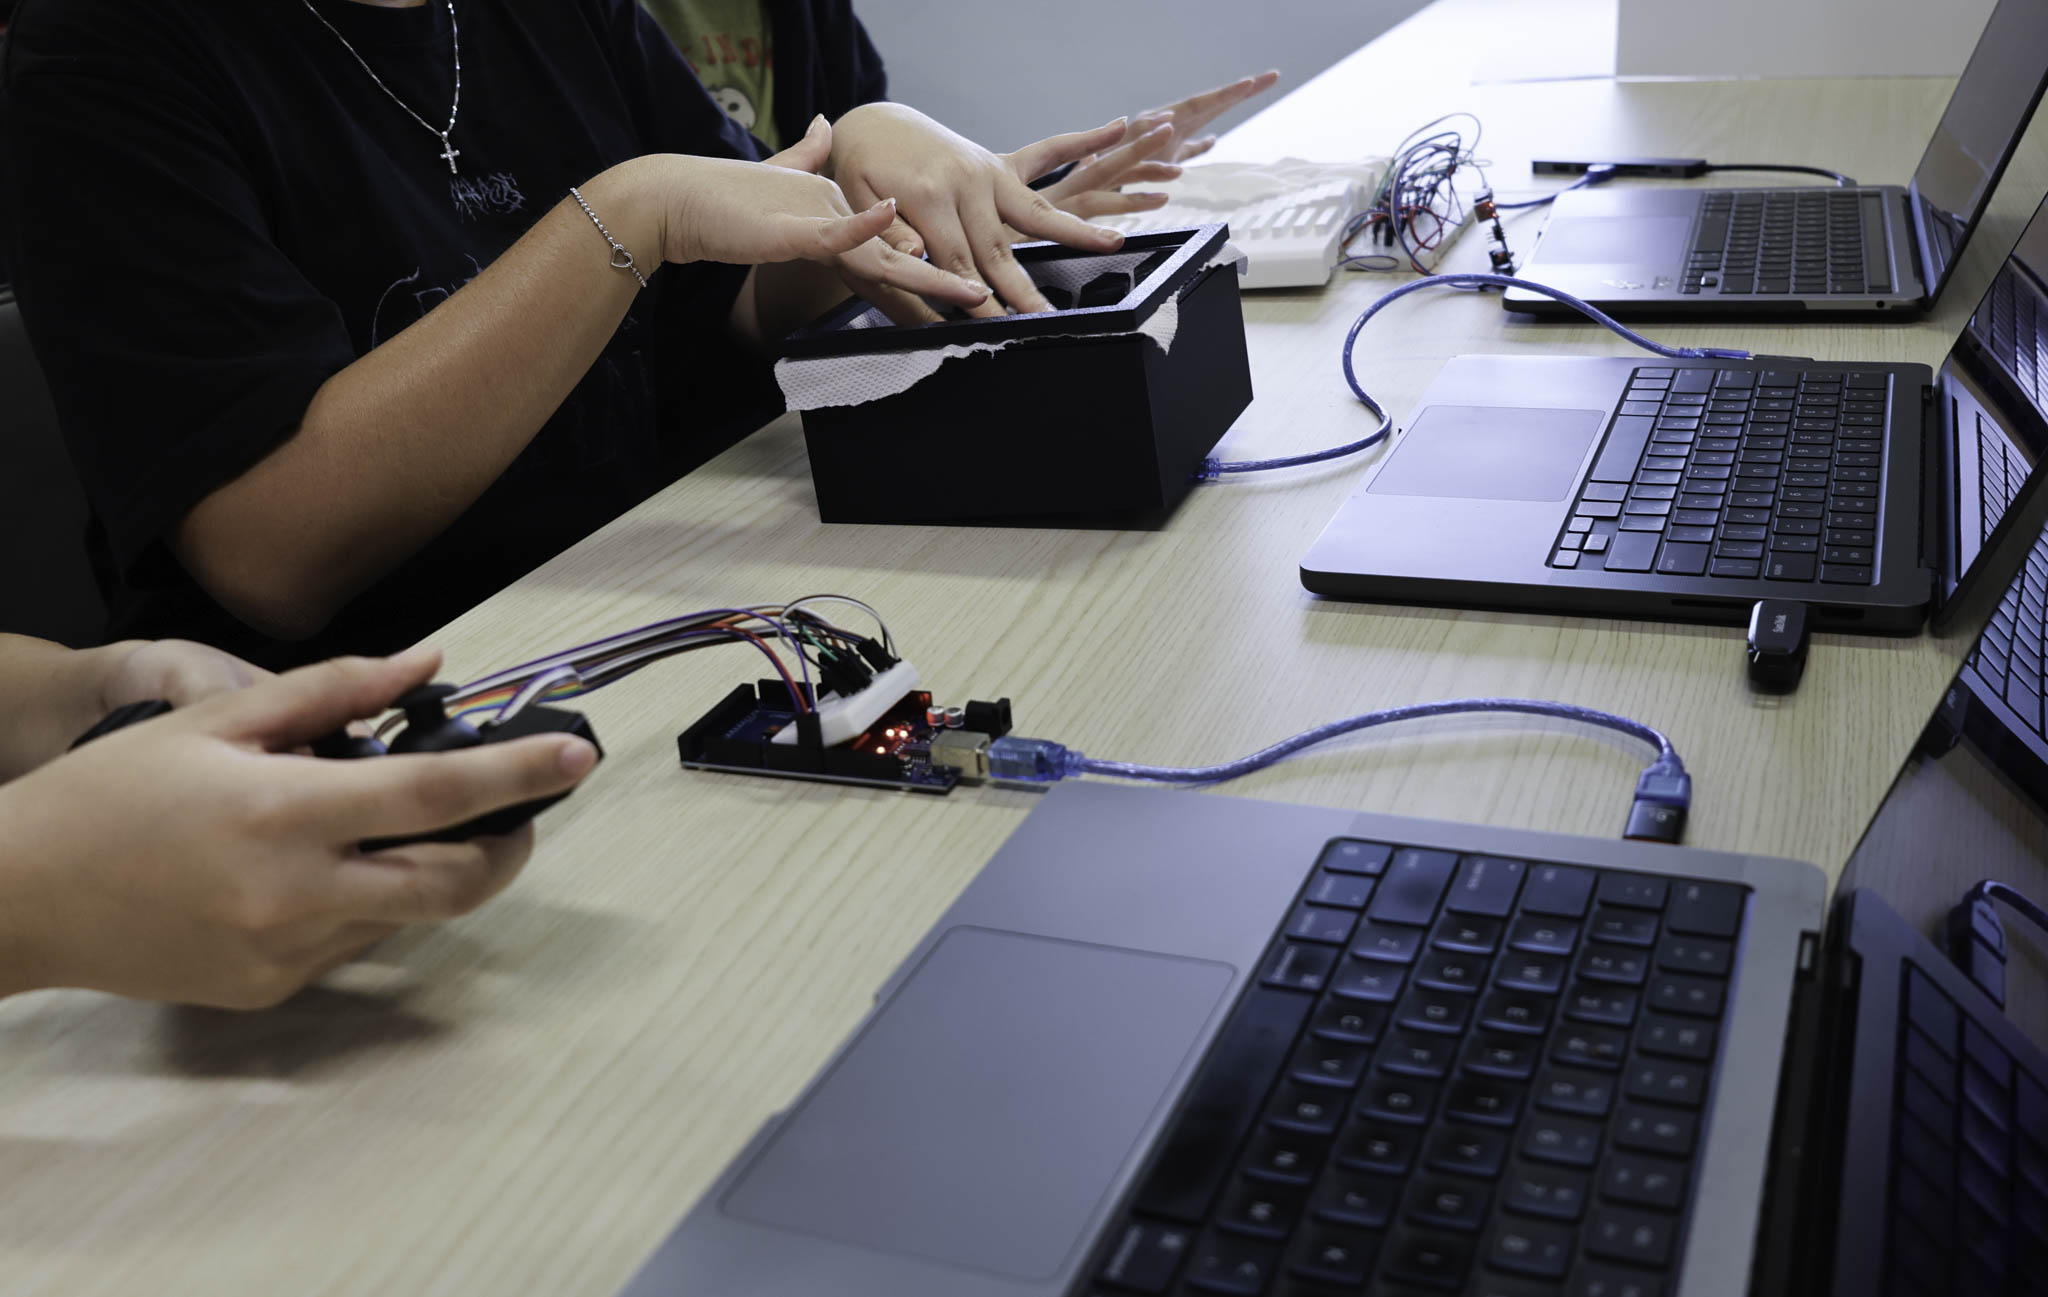
The PCB work was picking up pace this week. I'd been working in KiCad to translate the breadboard setup into a proper schematic and starting to think about how the board layout would actually work. The goal is getting off the breadboard, consolidating everything into a single board that can live inside the controller form.
WEEK 3
27-30 January 2026
KiCad Schematic
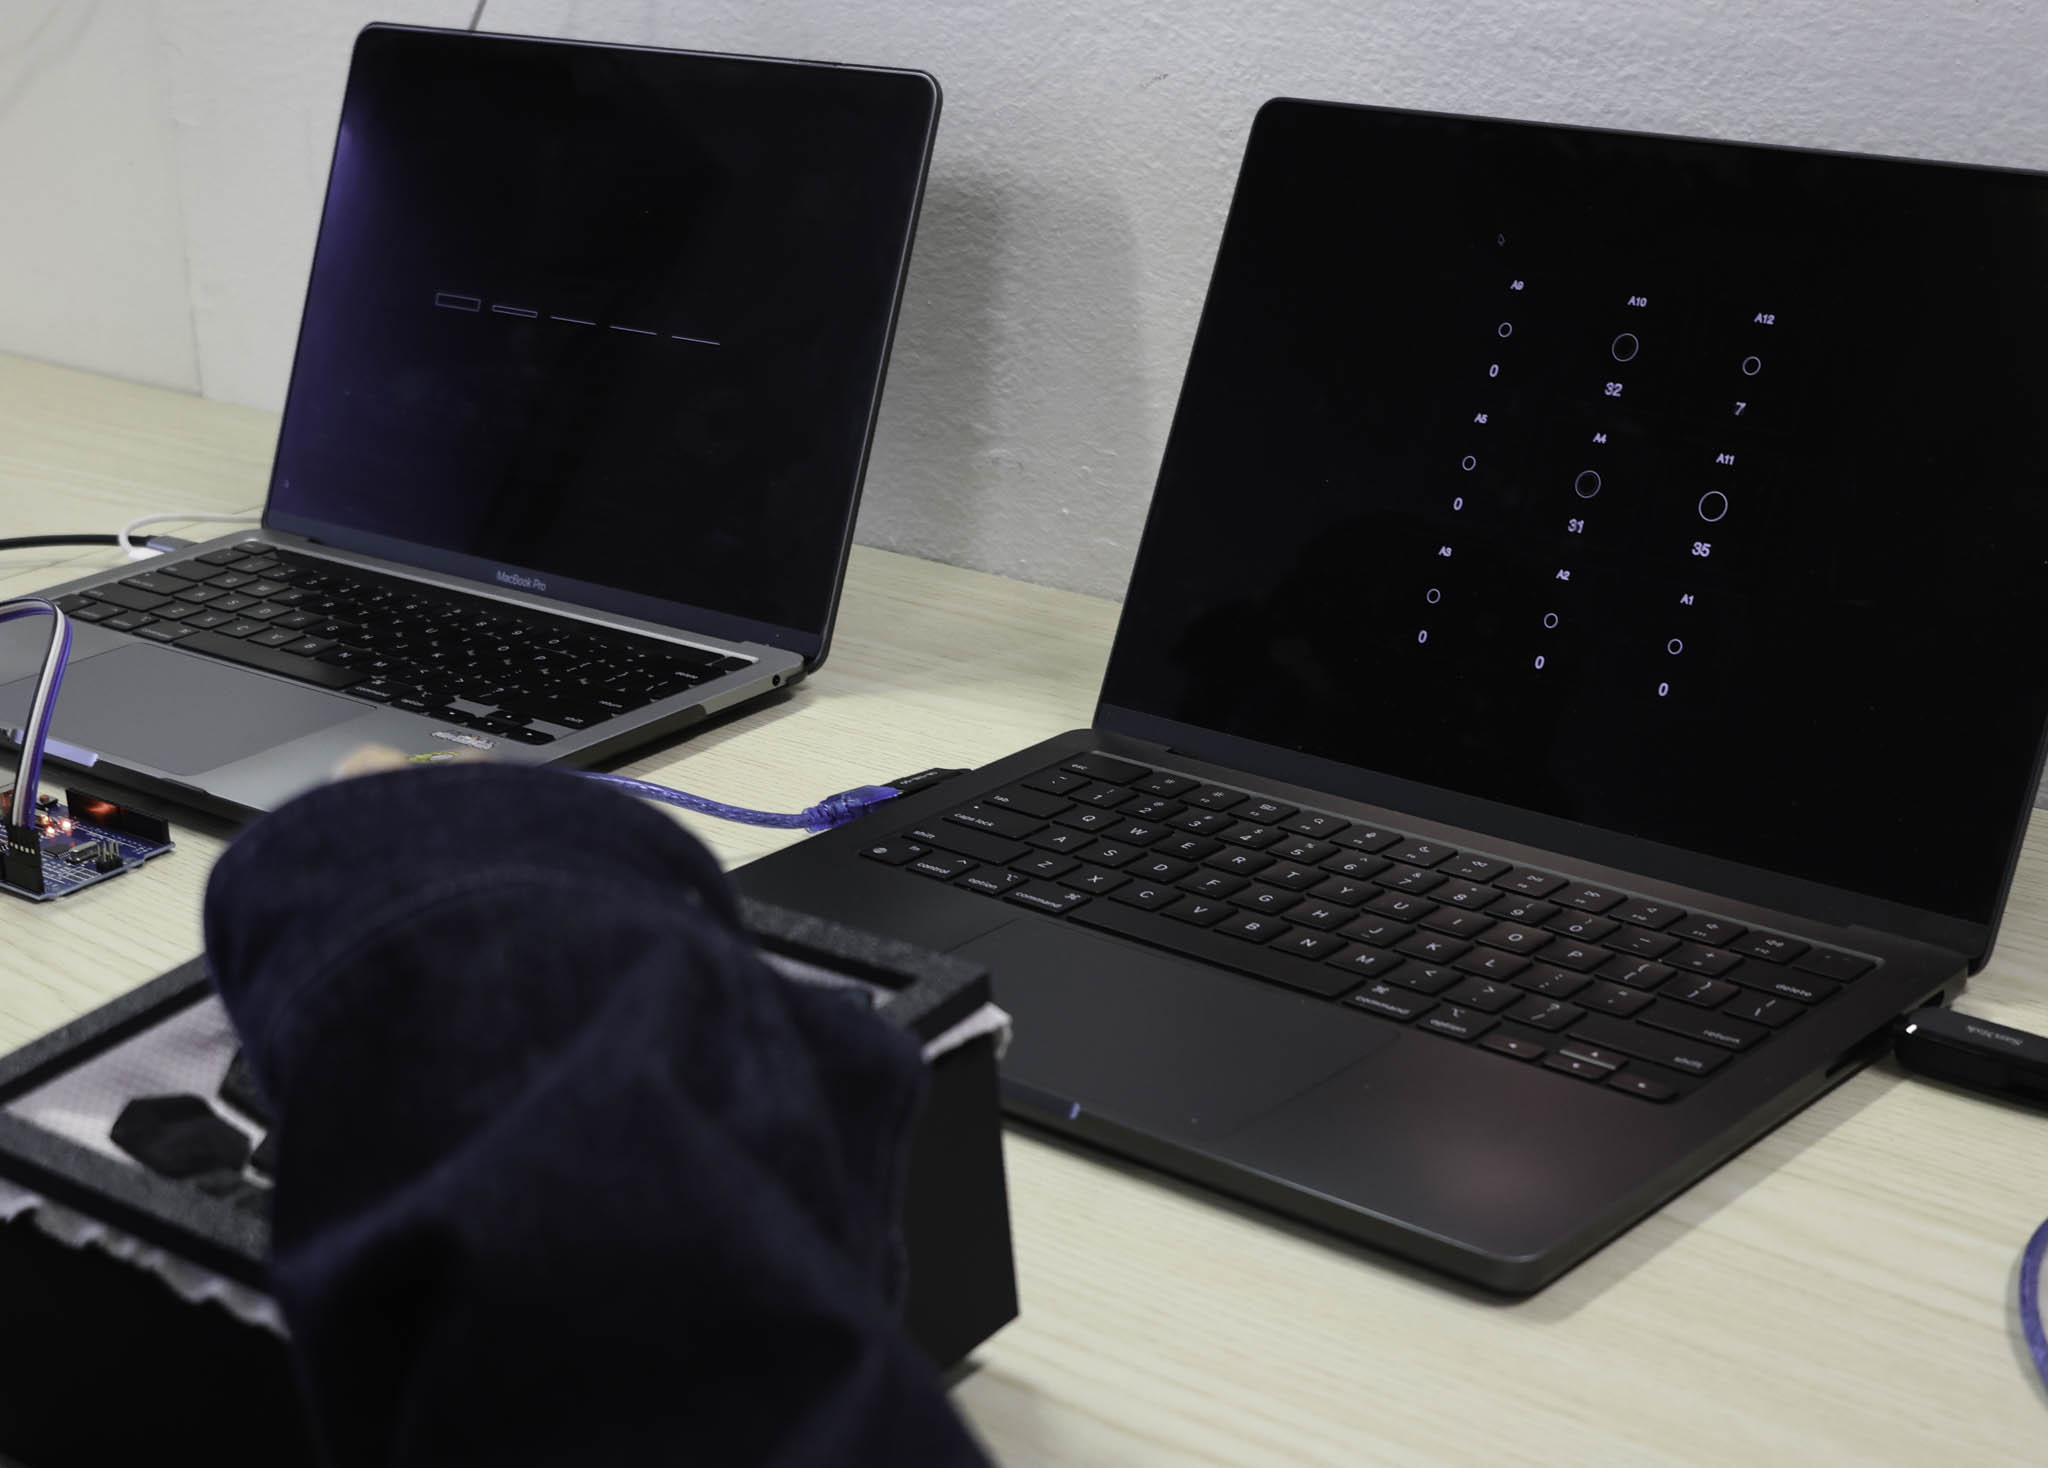
Translating the breadboard into a proper schematic: 5 piezo sensors, 10M ohm resistors on the analog pins. First step toward consolidating everything onto a single PCB.
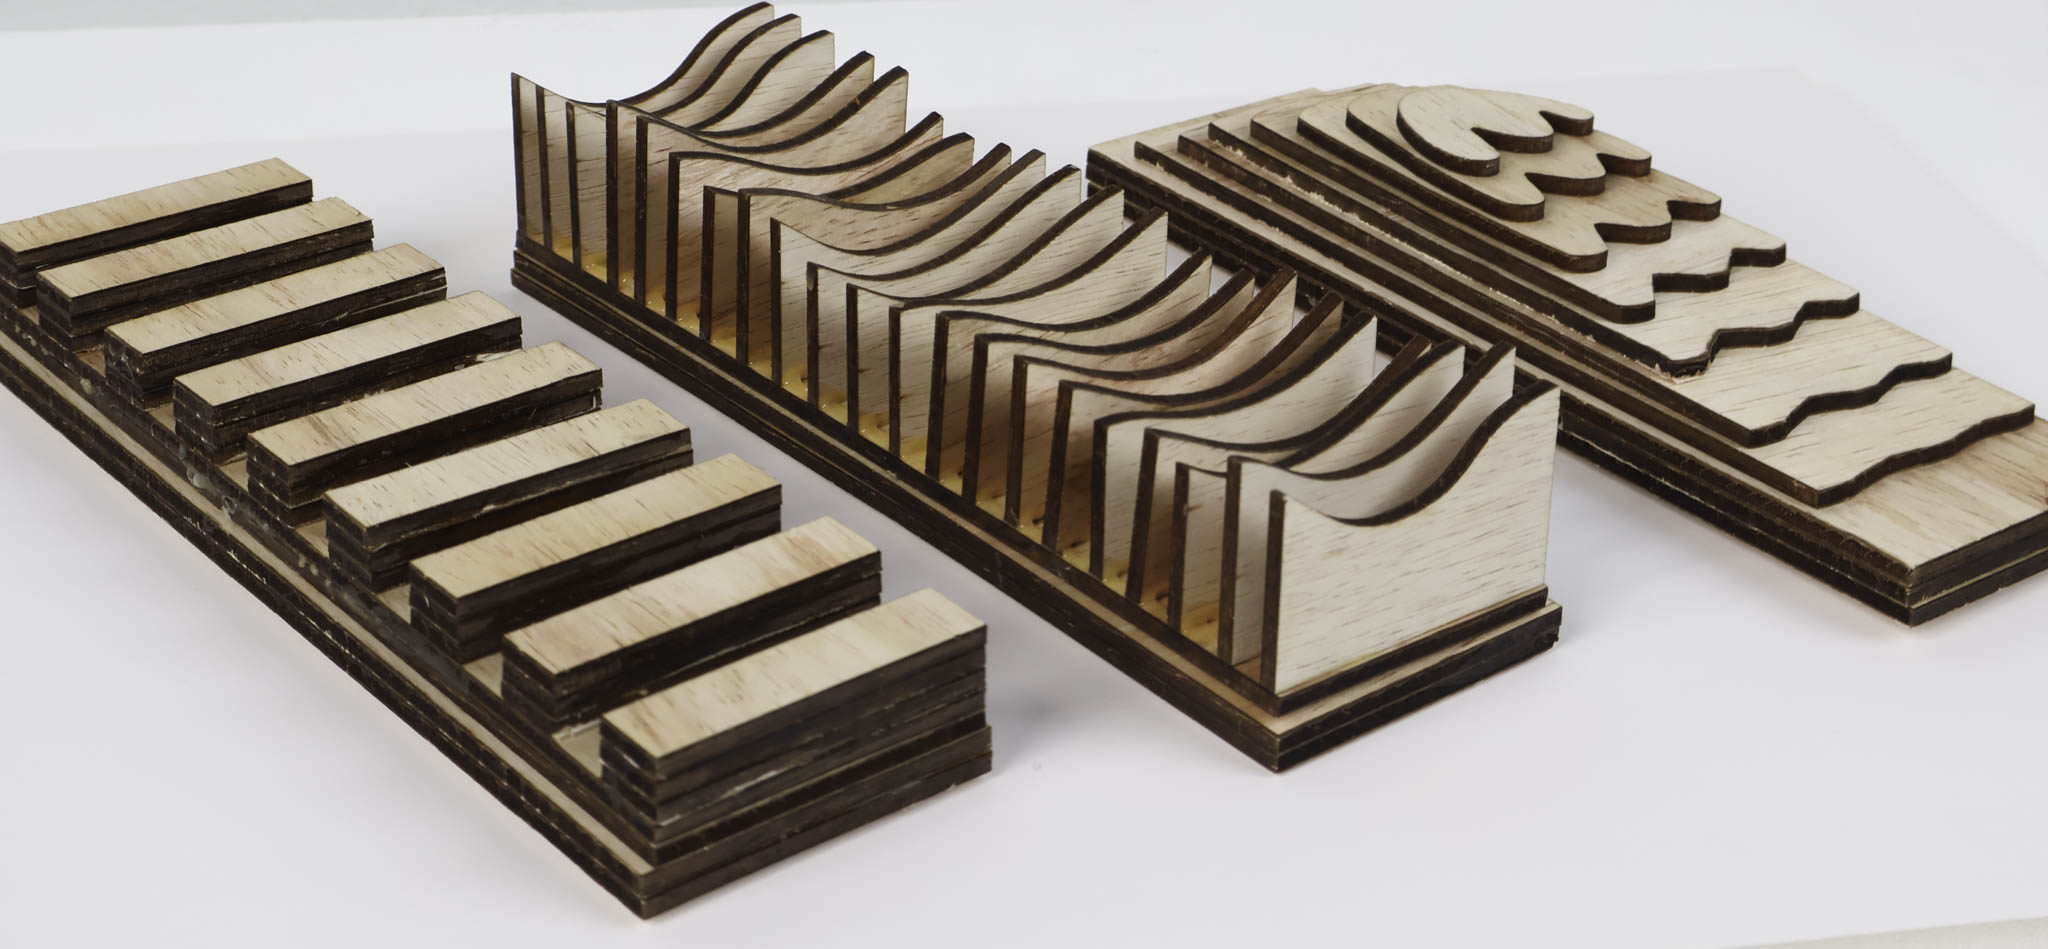
Wood Casing
First material iteration beyond 3D printing: a wood casing for Prototype 1. Wood changes how you evaluate the form. Weight and permanence make you take the design decisions more seriously.
General Participants
First round of user testing with general (non-practitioner) participants. Useful baseline for understanding how someone unfamiliar with the tool approaches it before testing with performers.
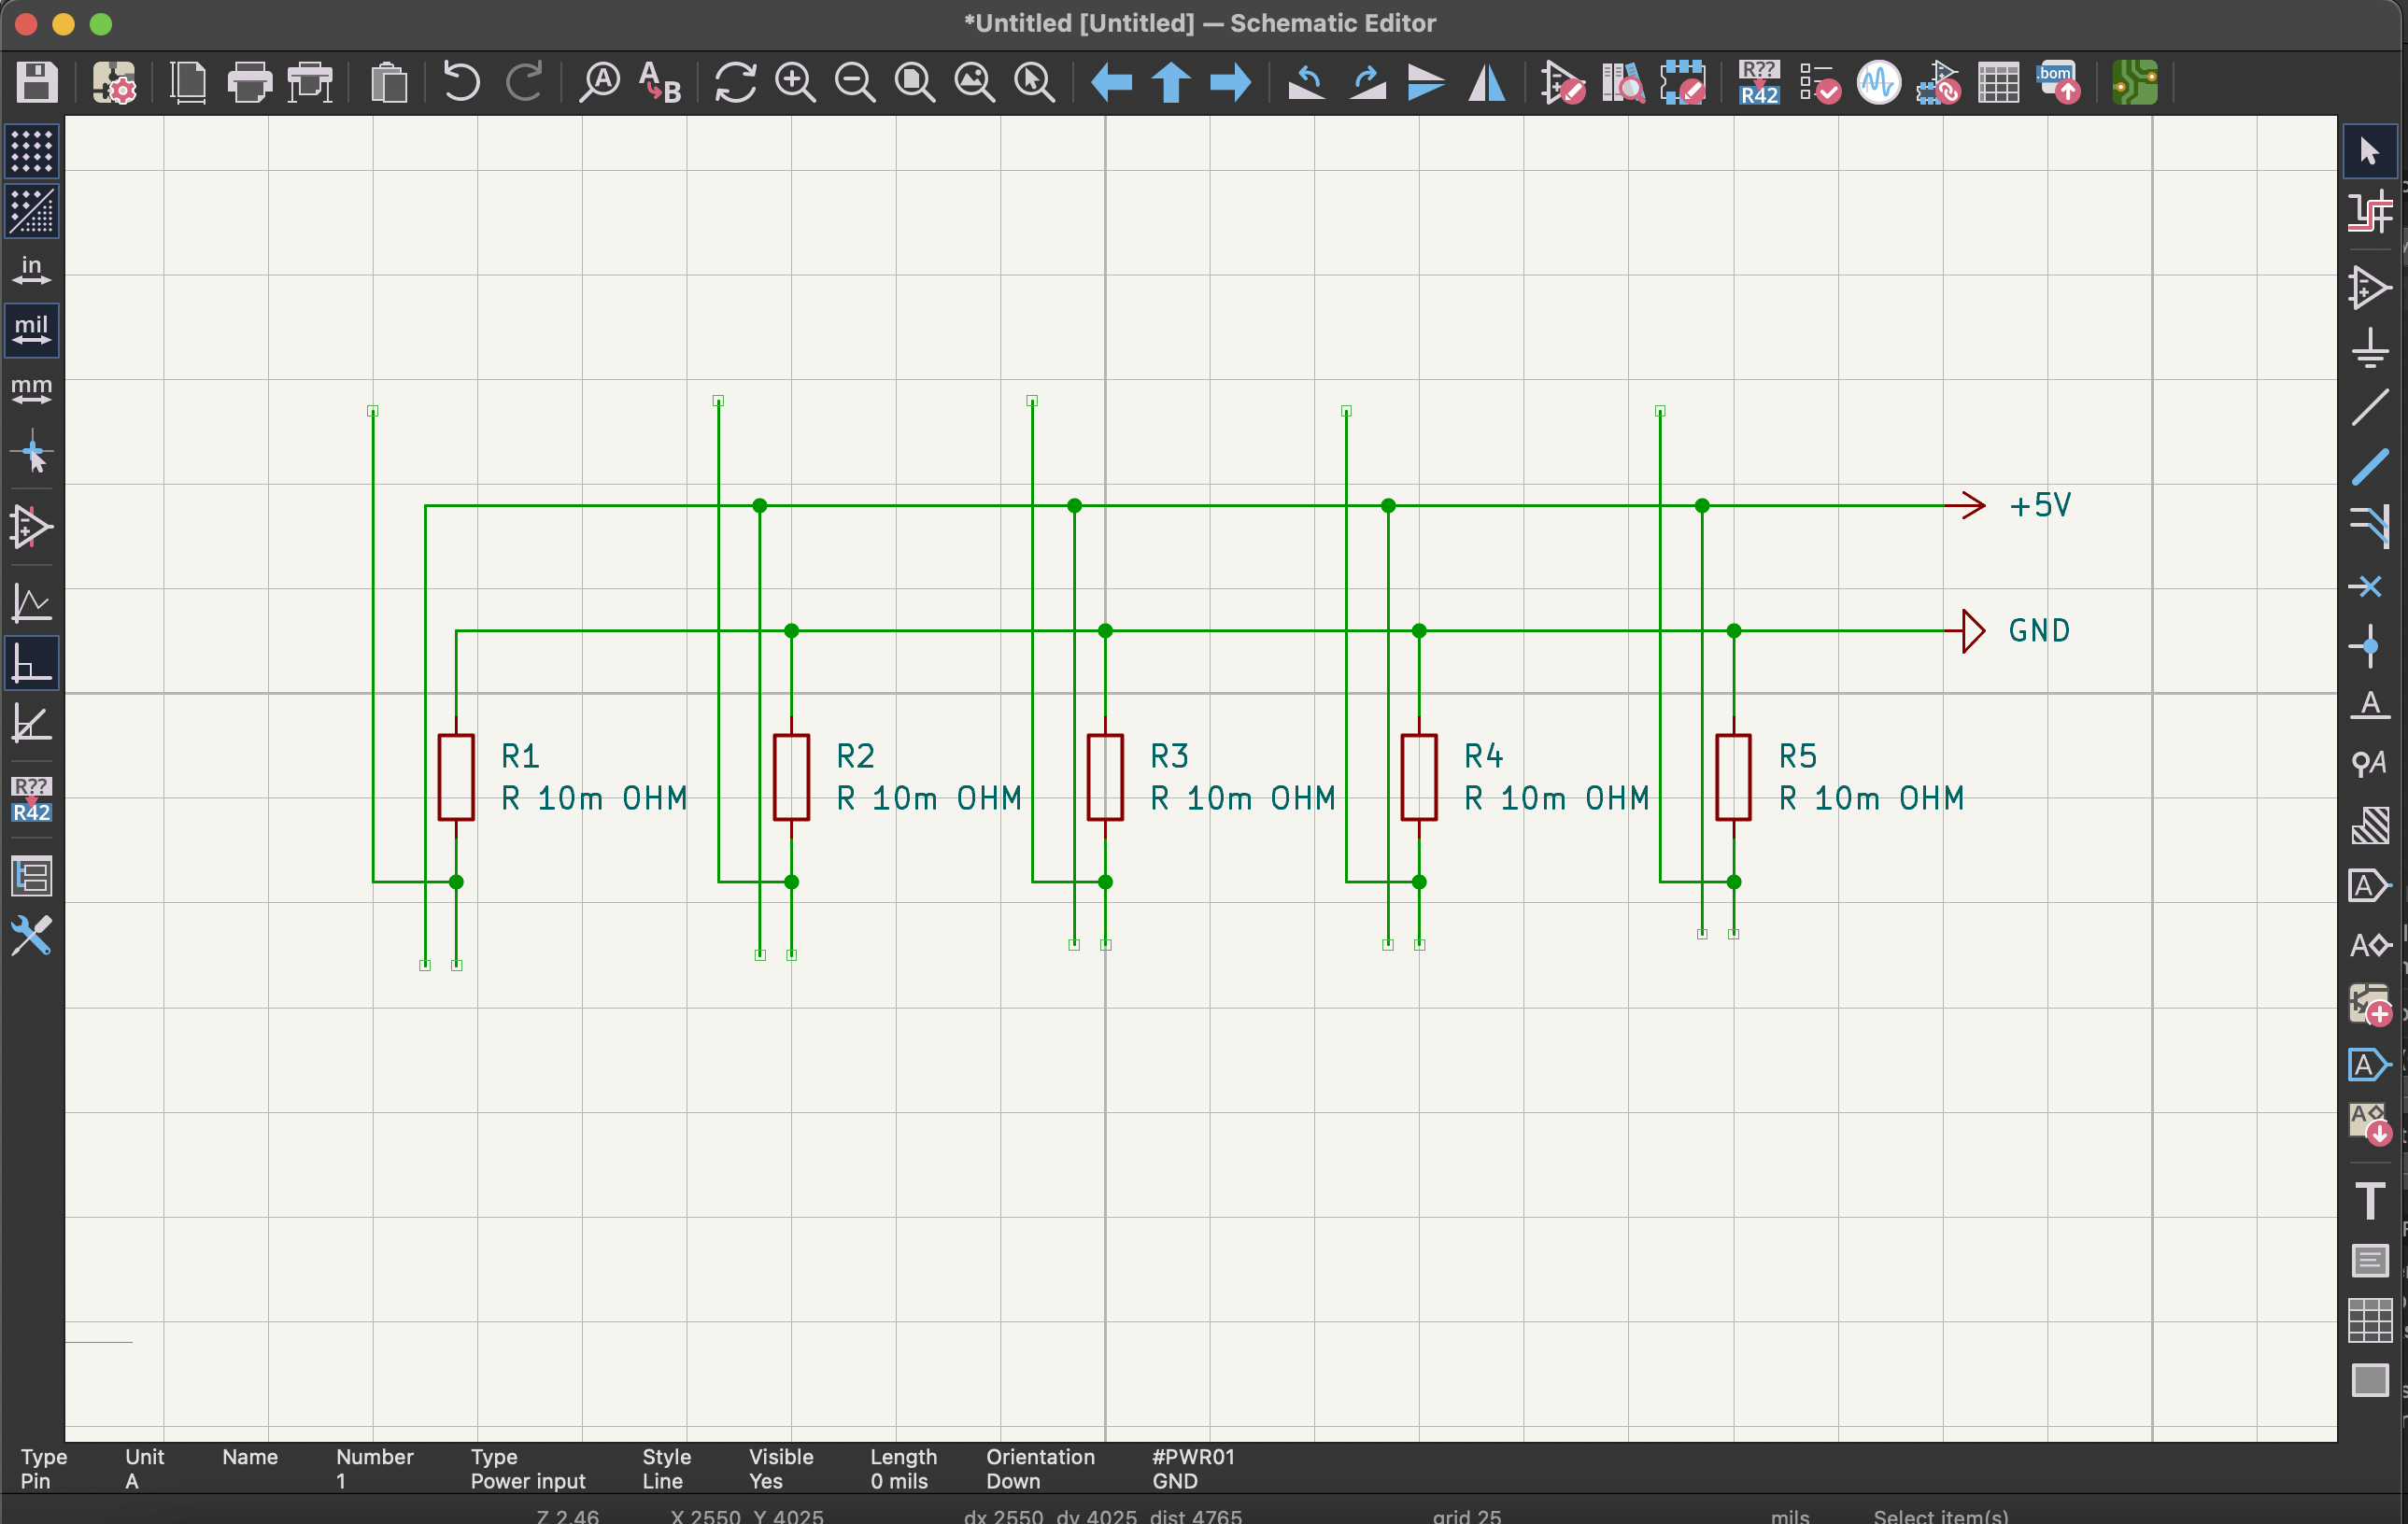
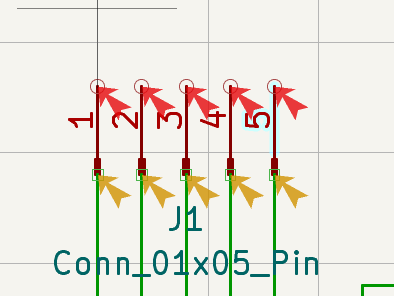
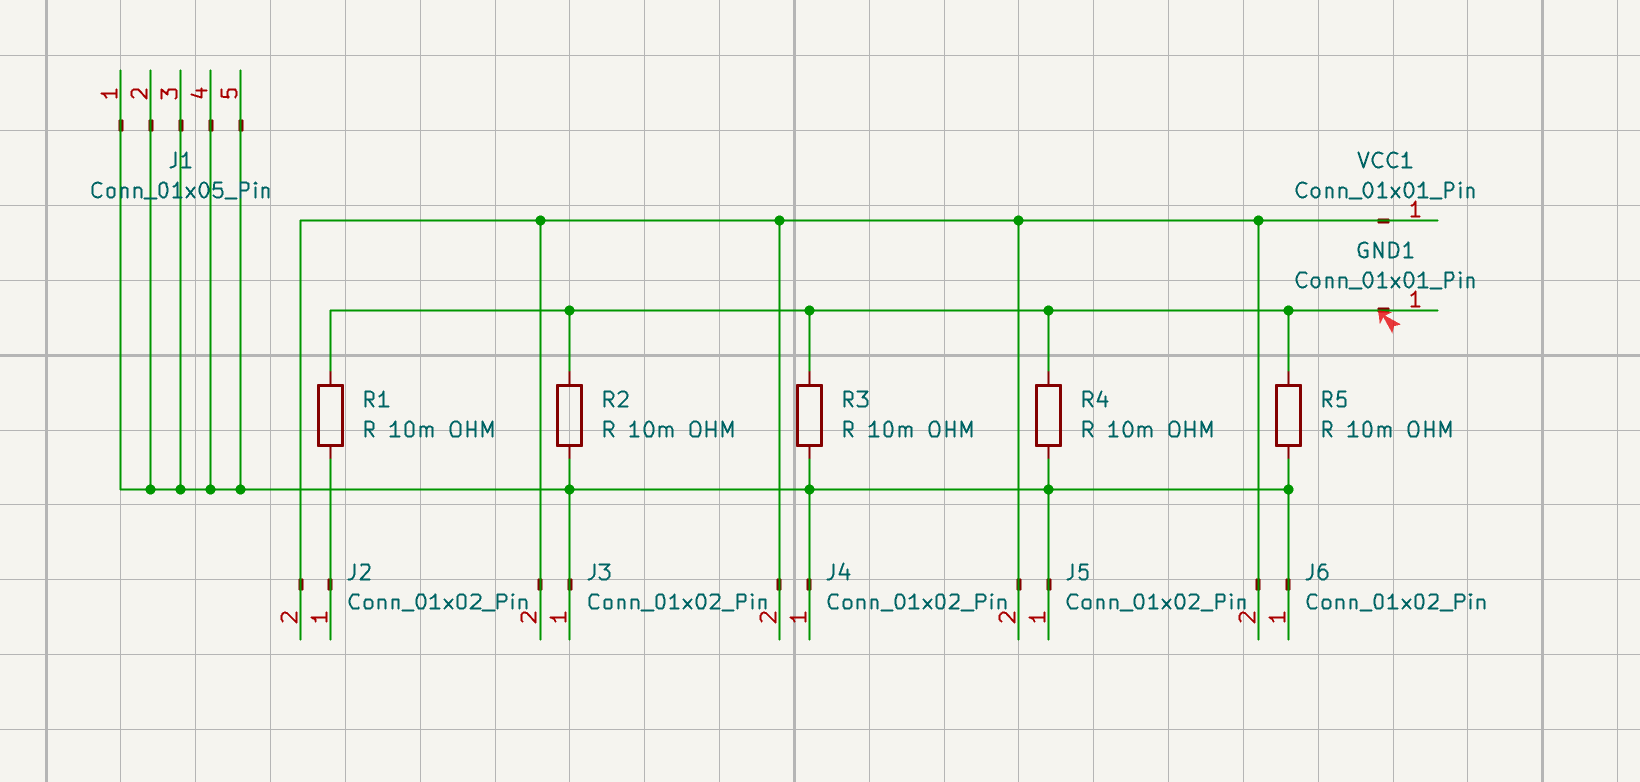
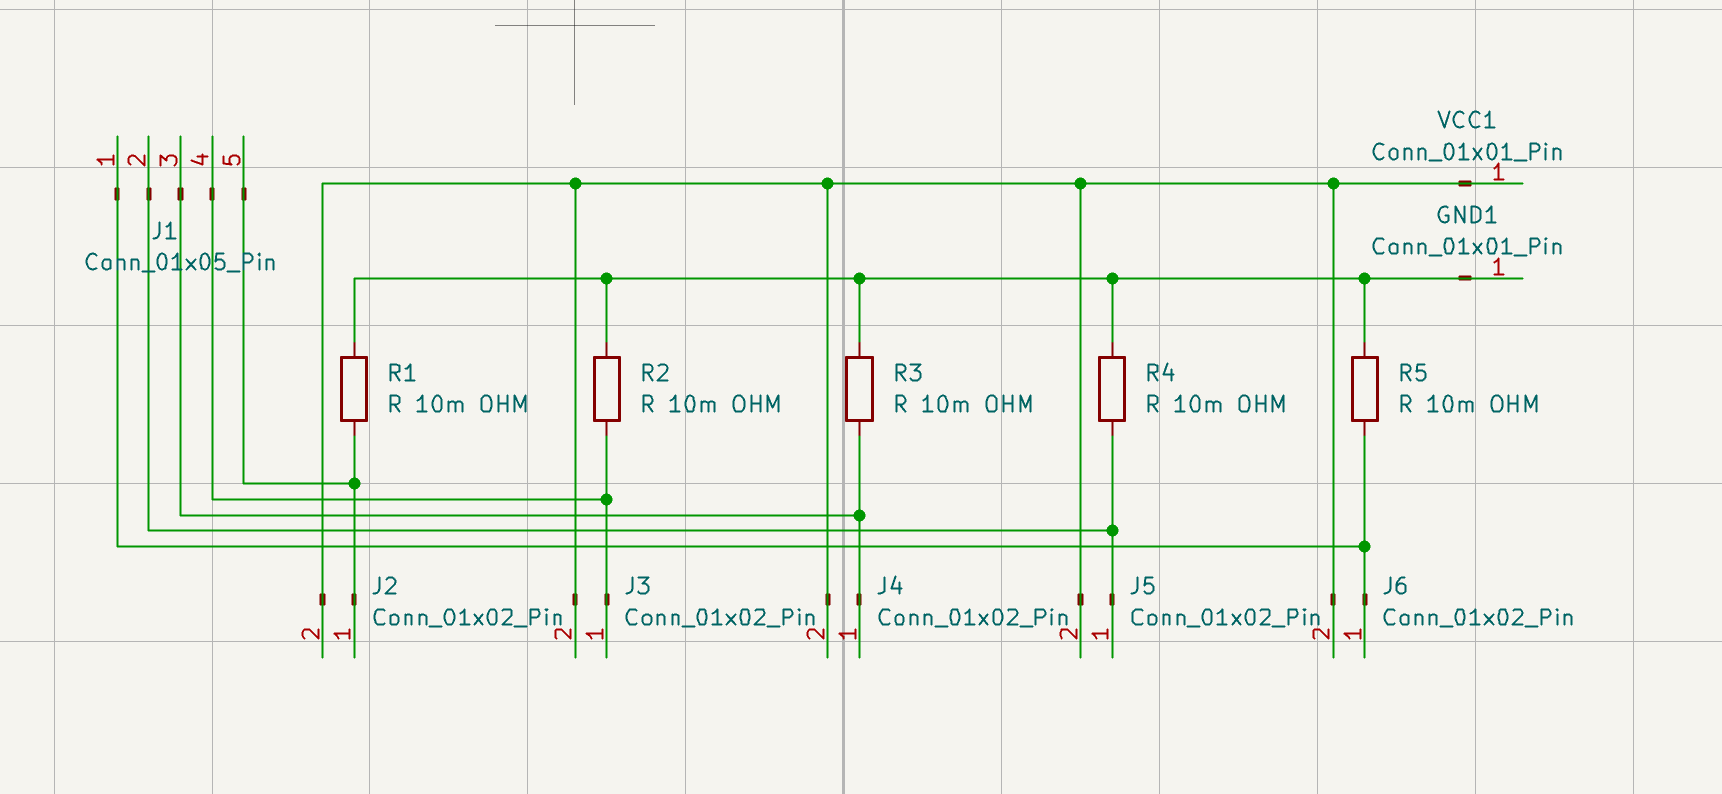
The KiCad schematic went through several phases: placing components, defining the net connections, checking the electrical rules, then starting to think about how the physical layout would work. Five piezo sensors, five analog pins, 10M ohm resistors on each. The schematic is the easy part. Layout is where it gets spatial.
Thursday I met Matthew who was introduced to me by Andreas who came in to help me out on the PCB designs. I had some foundation of understanding how to design a PCB however there were some parts where I was very unsure in which stopped me in the process so Matthew was there to help me out answer those questions. Also worked on the wood casing for Prototype 1 this week: a physical enclosure that gave the 3D printed form and sensor setup an actual shell to sit inside.
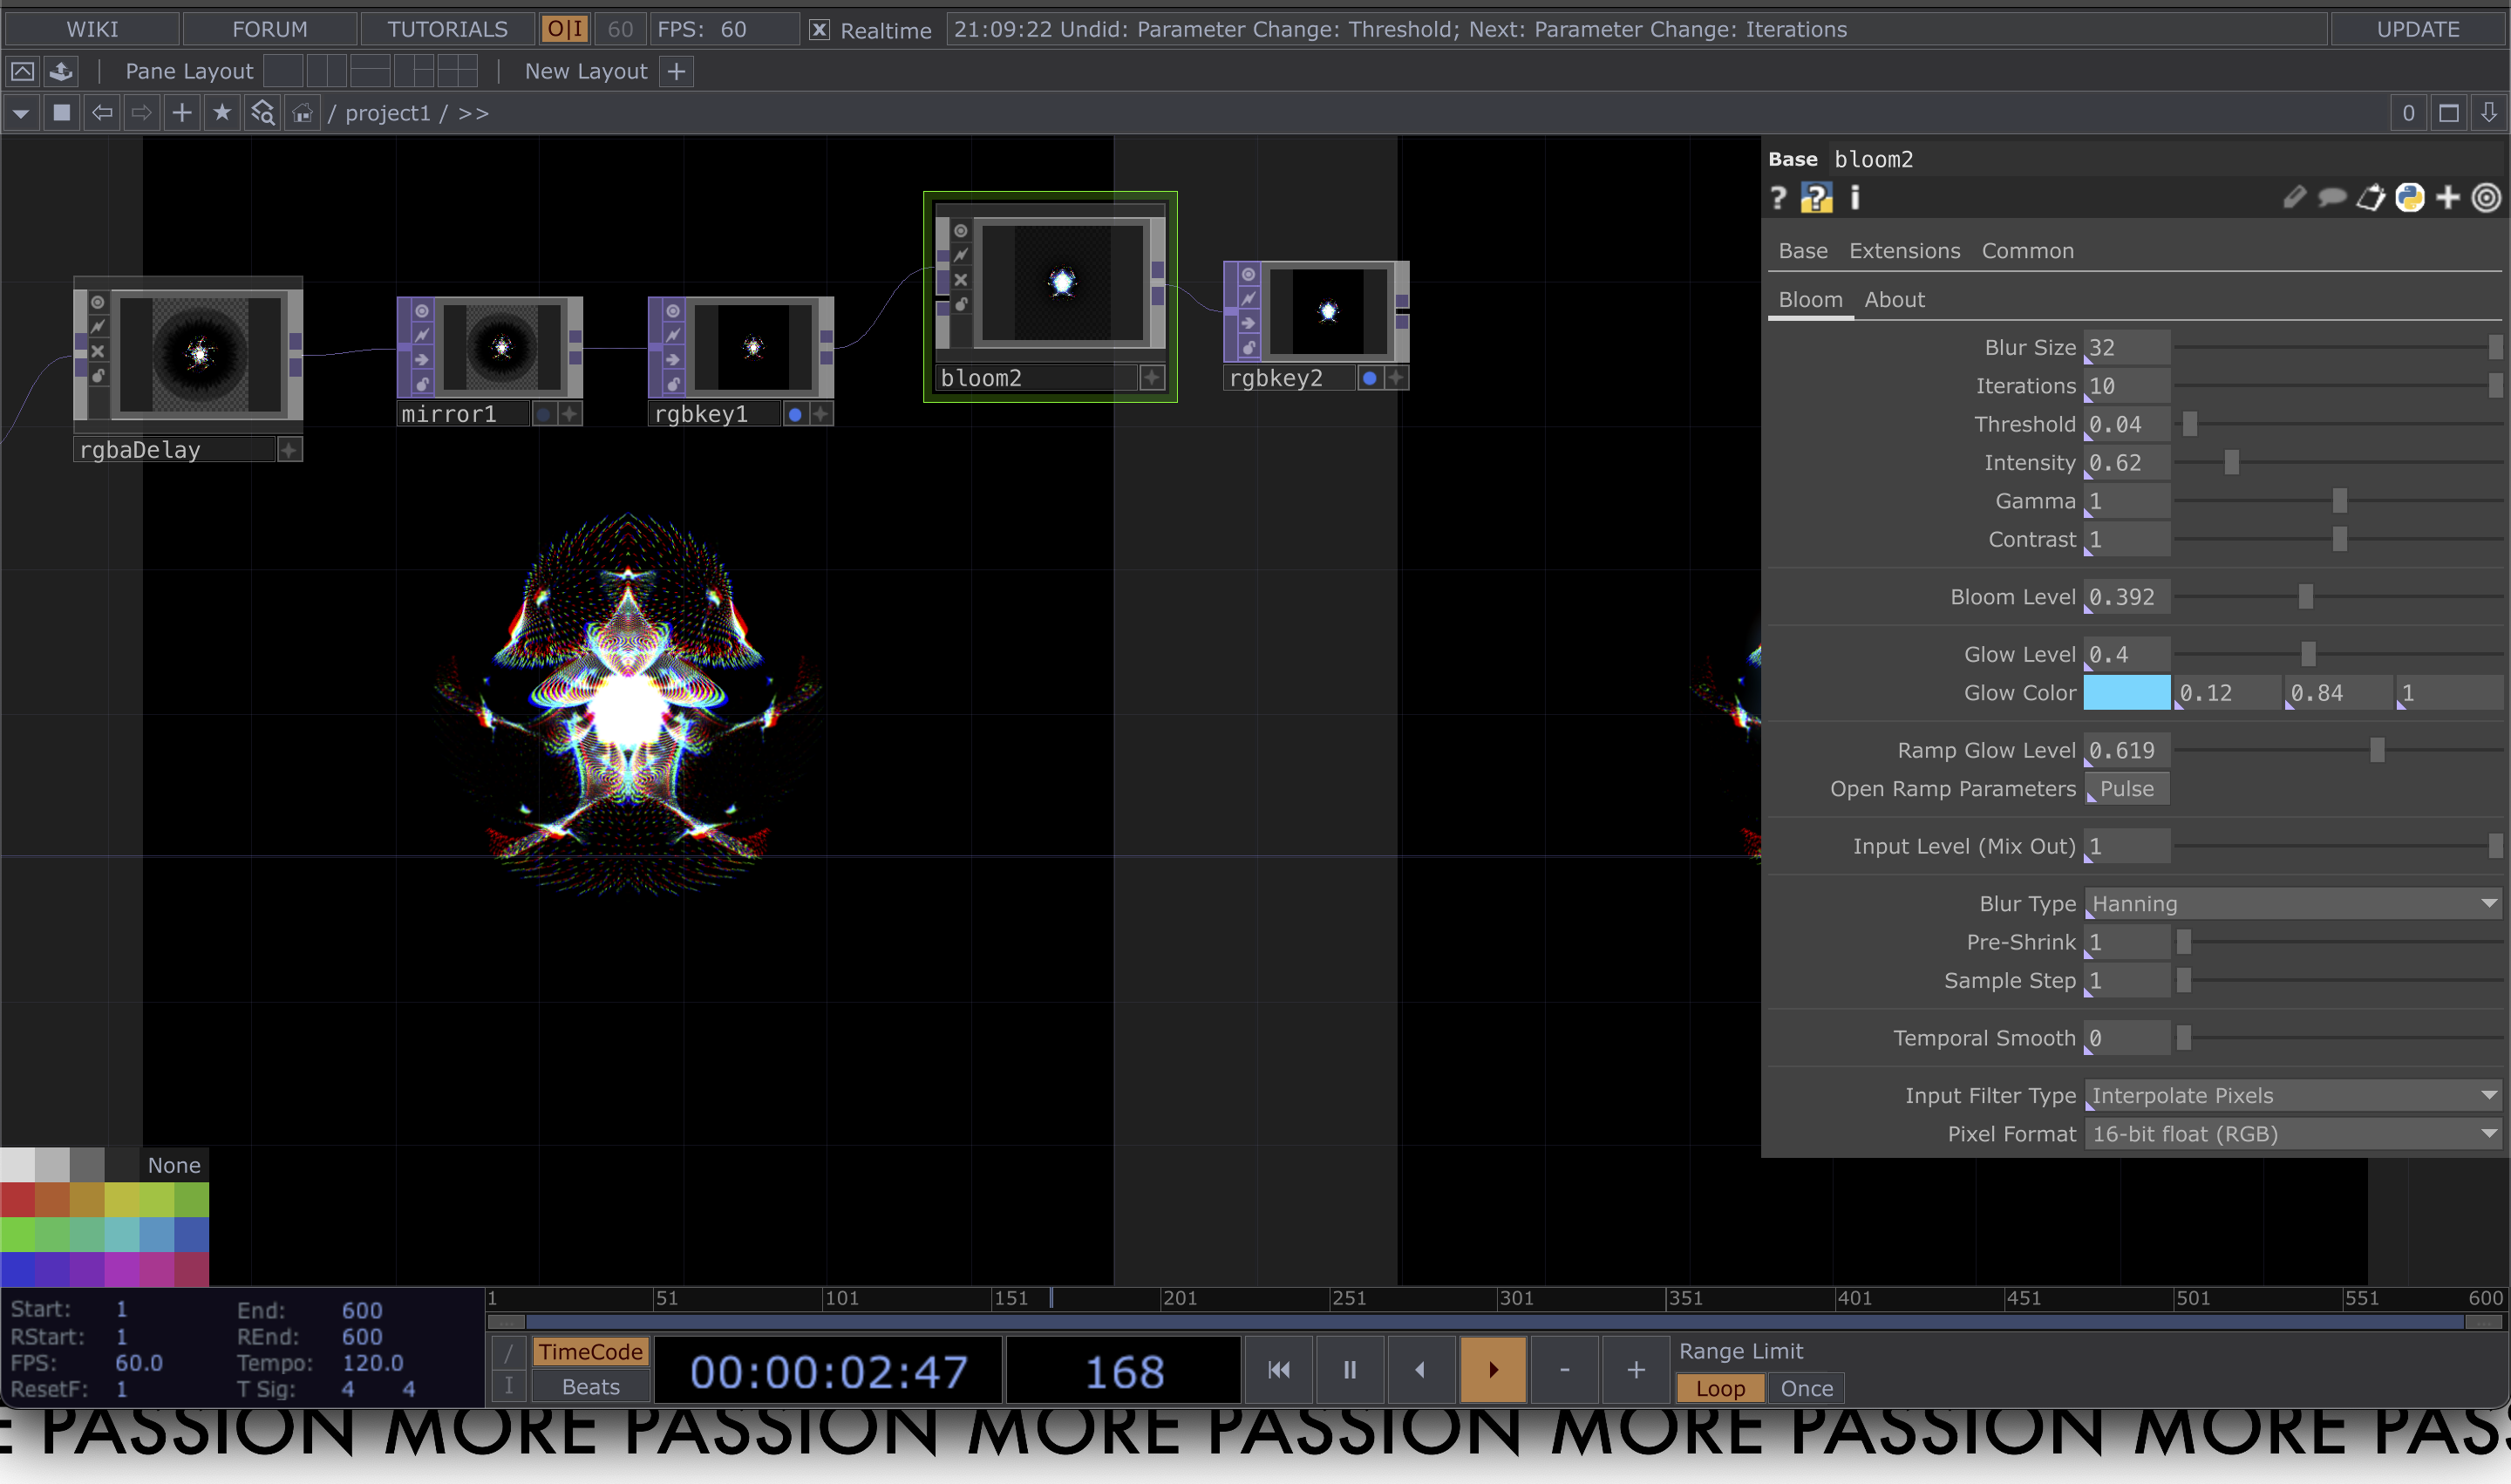
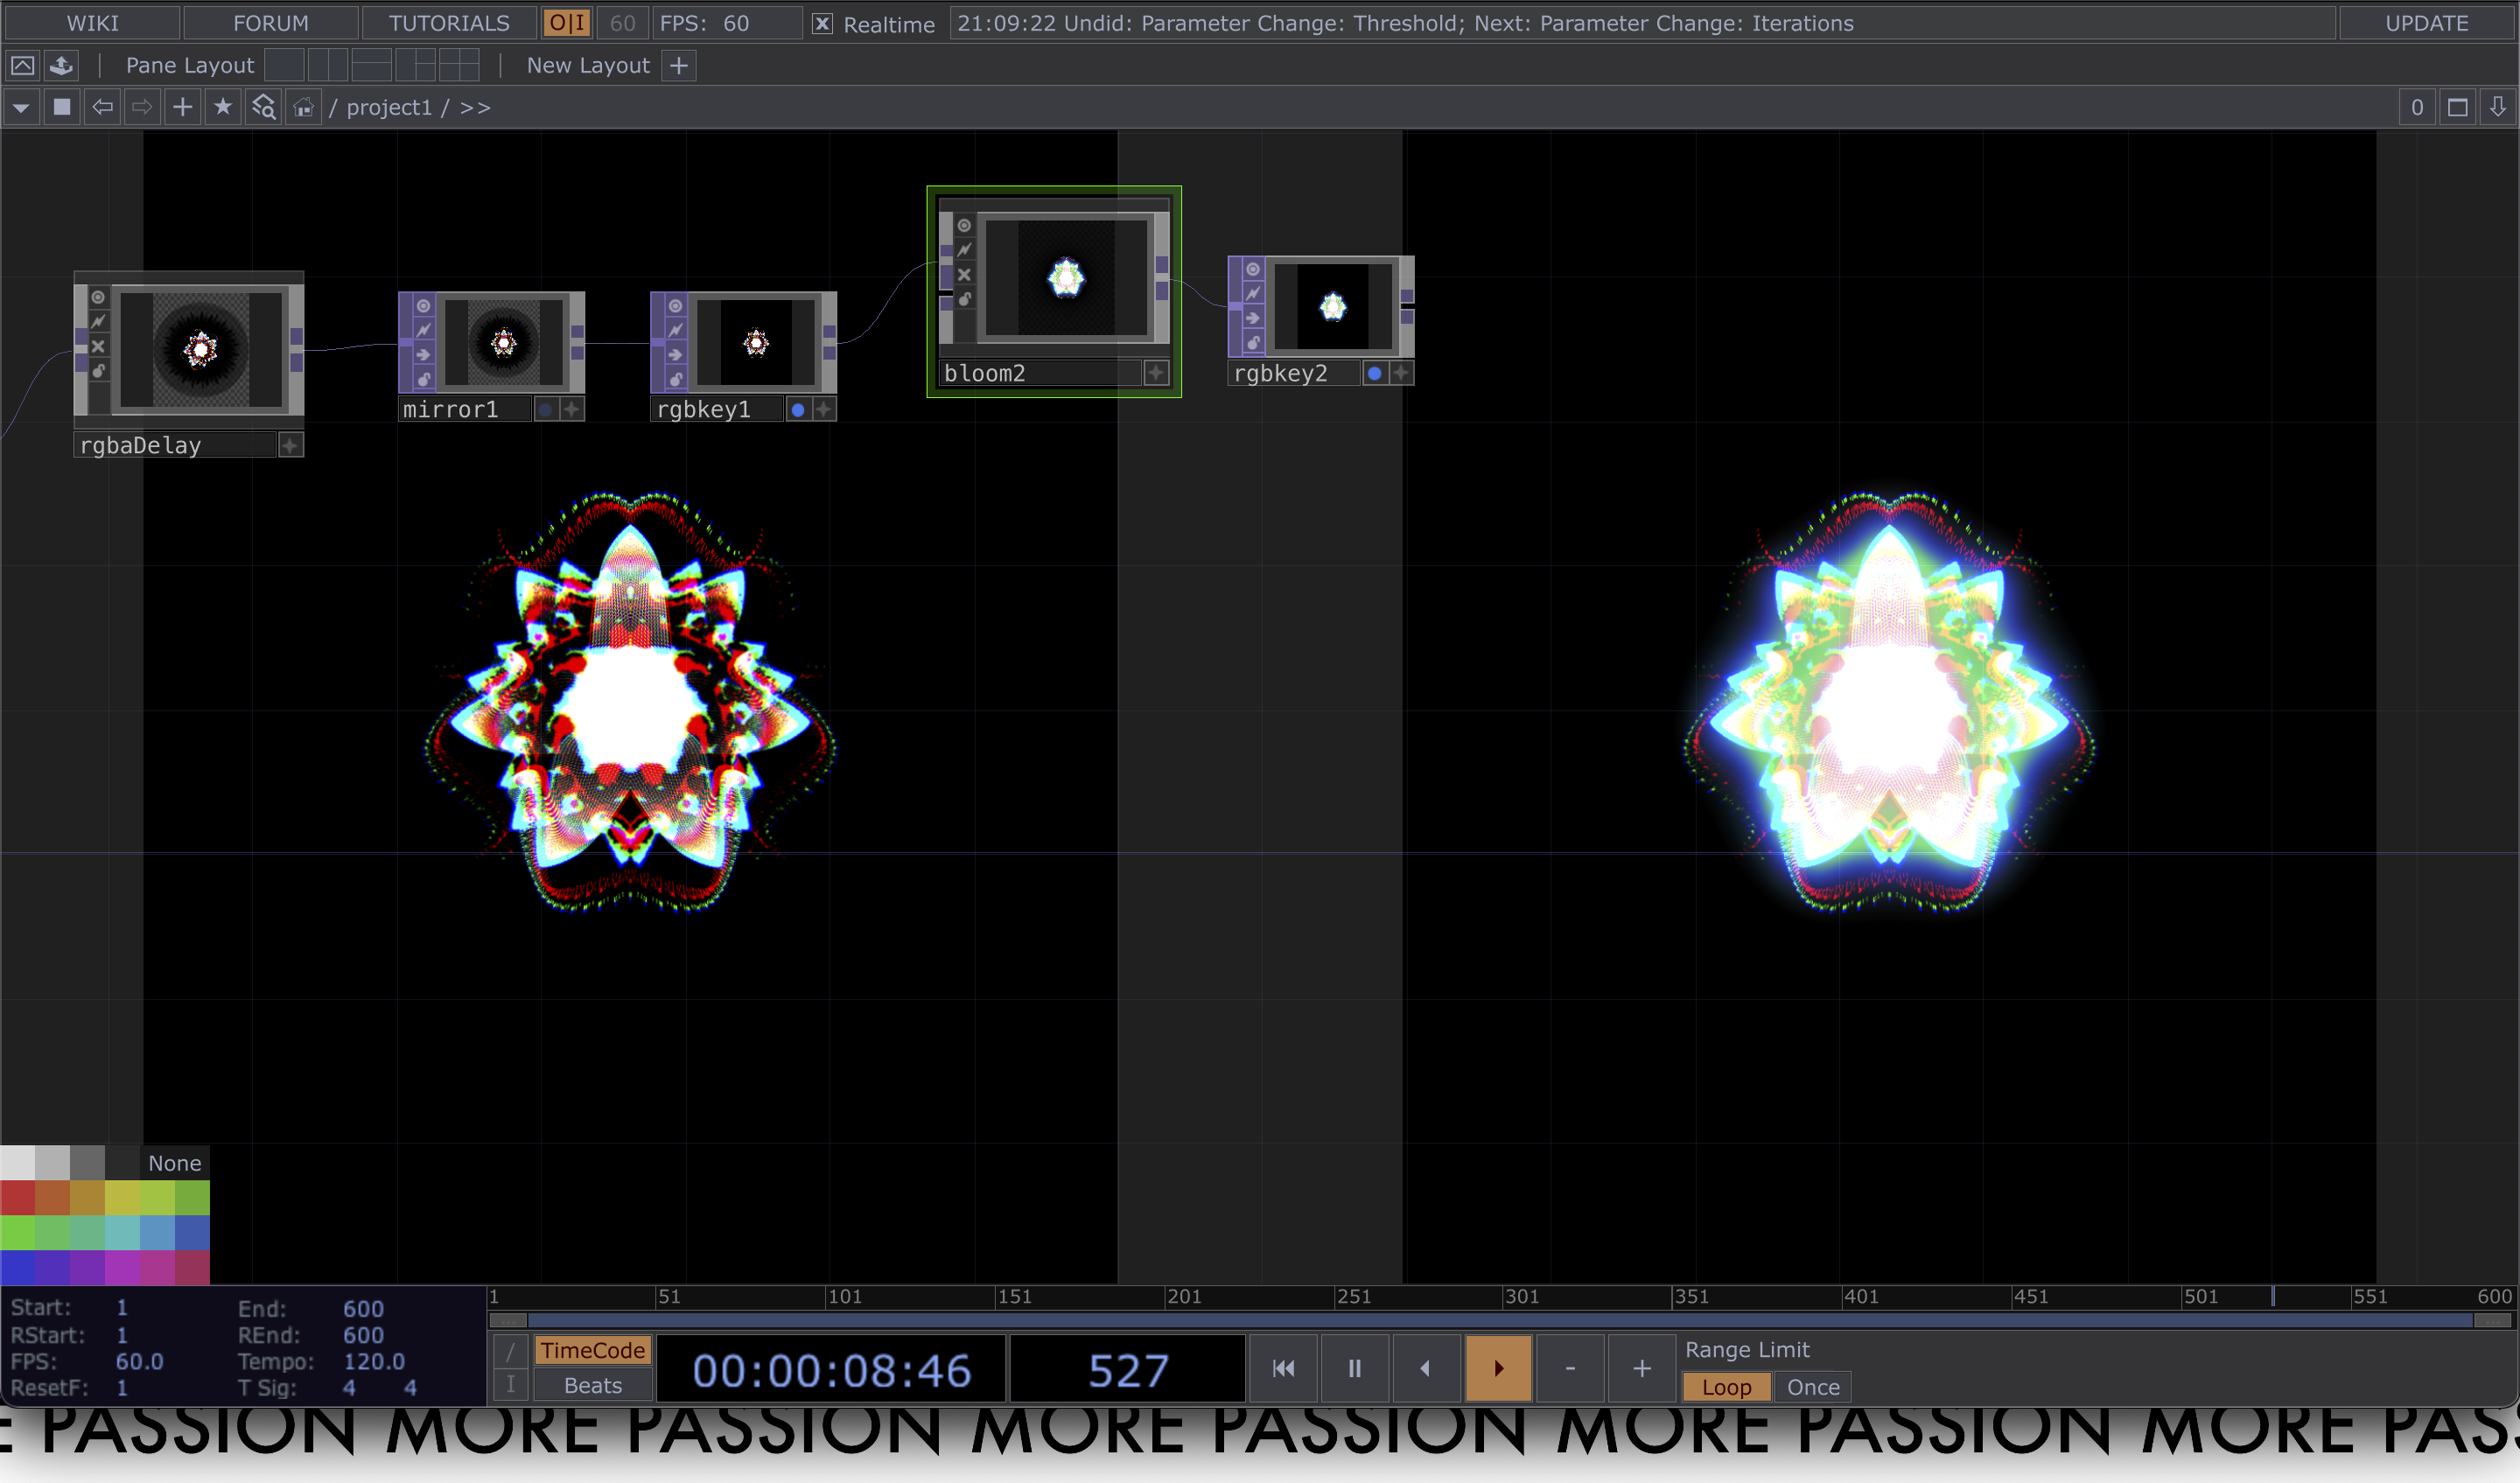
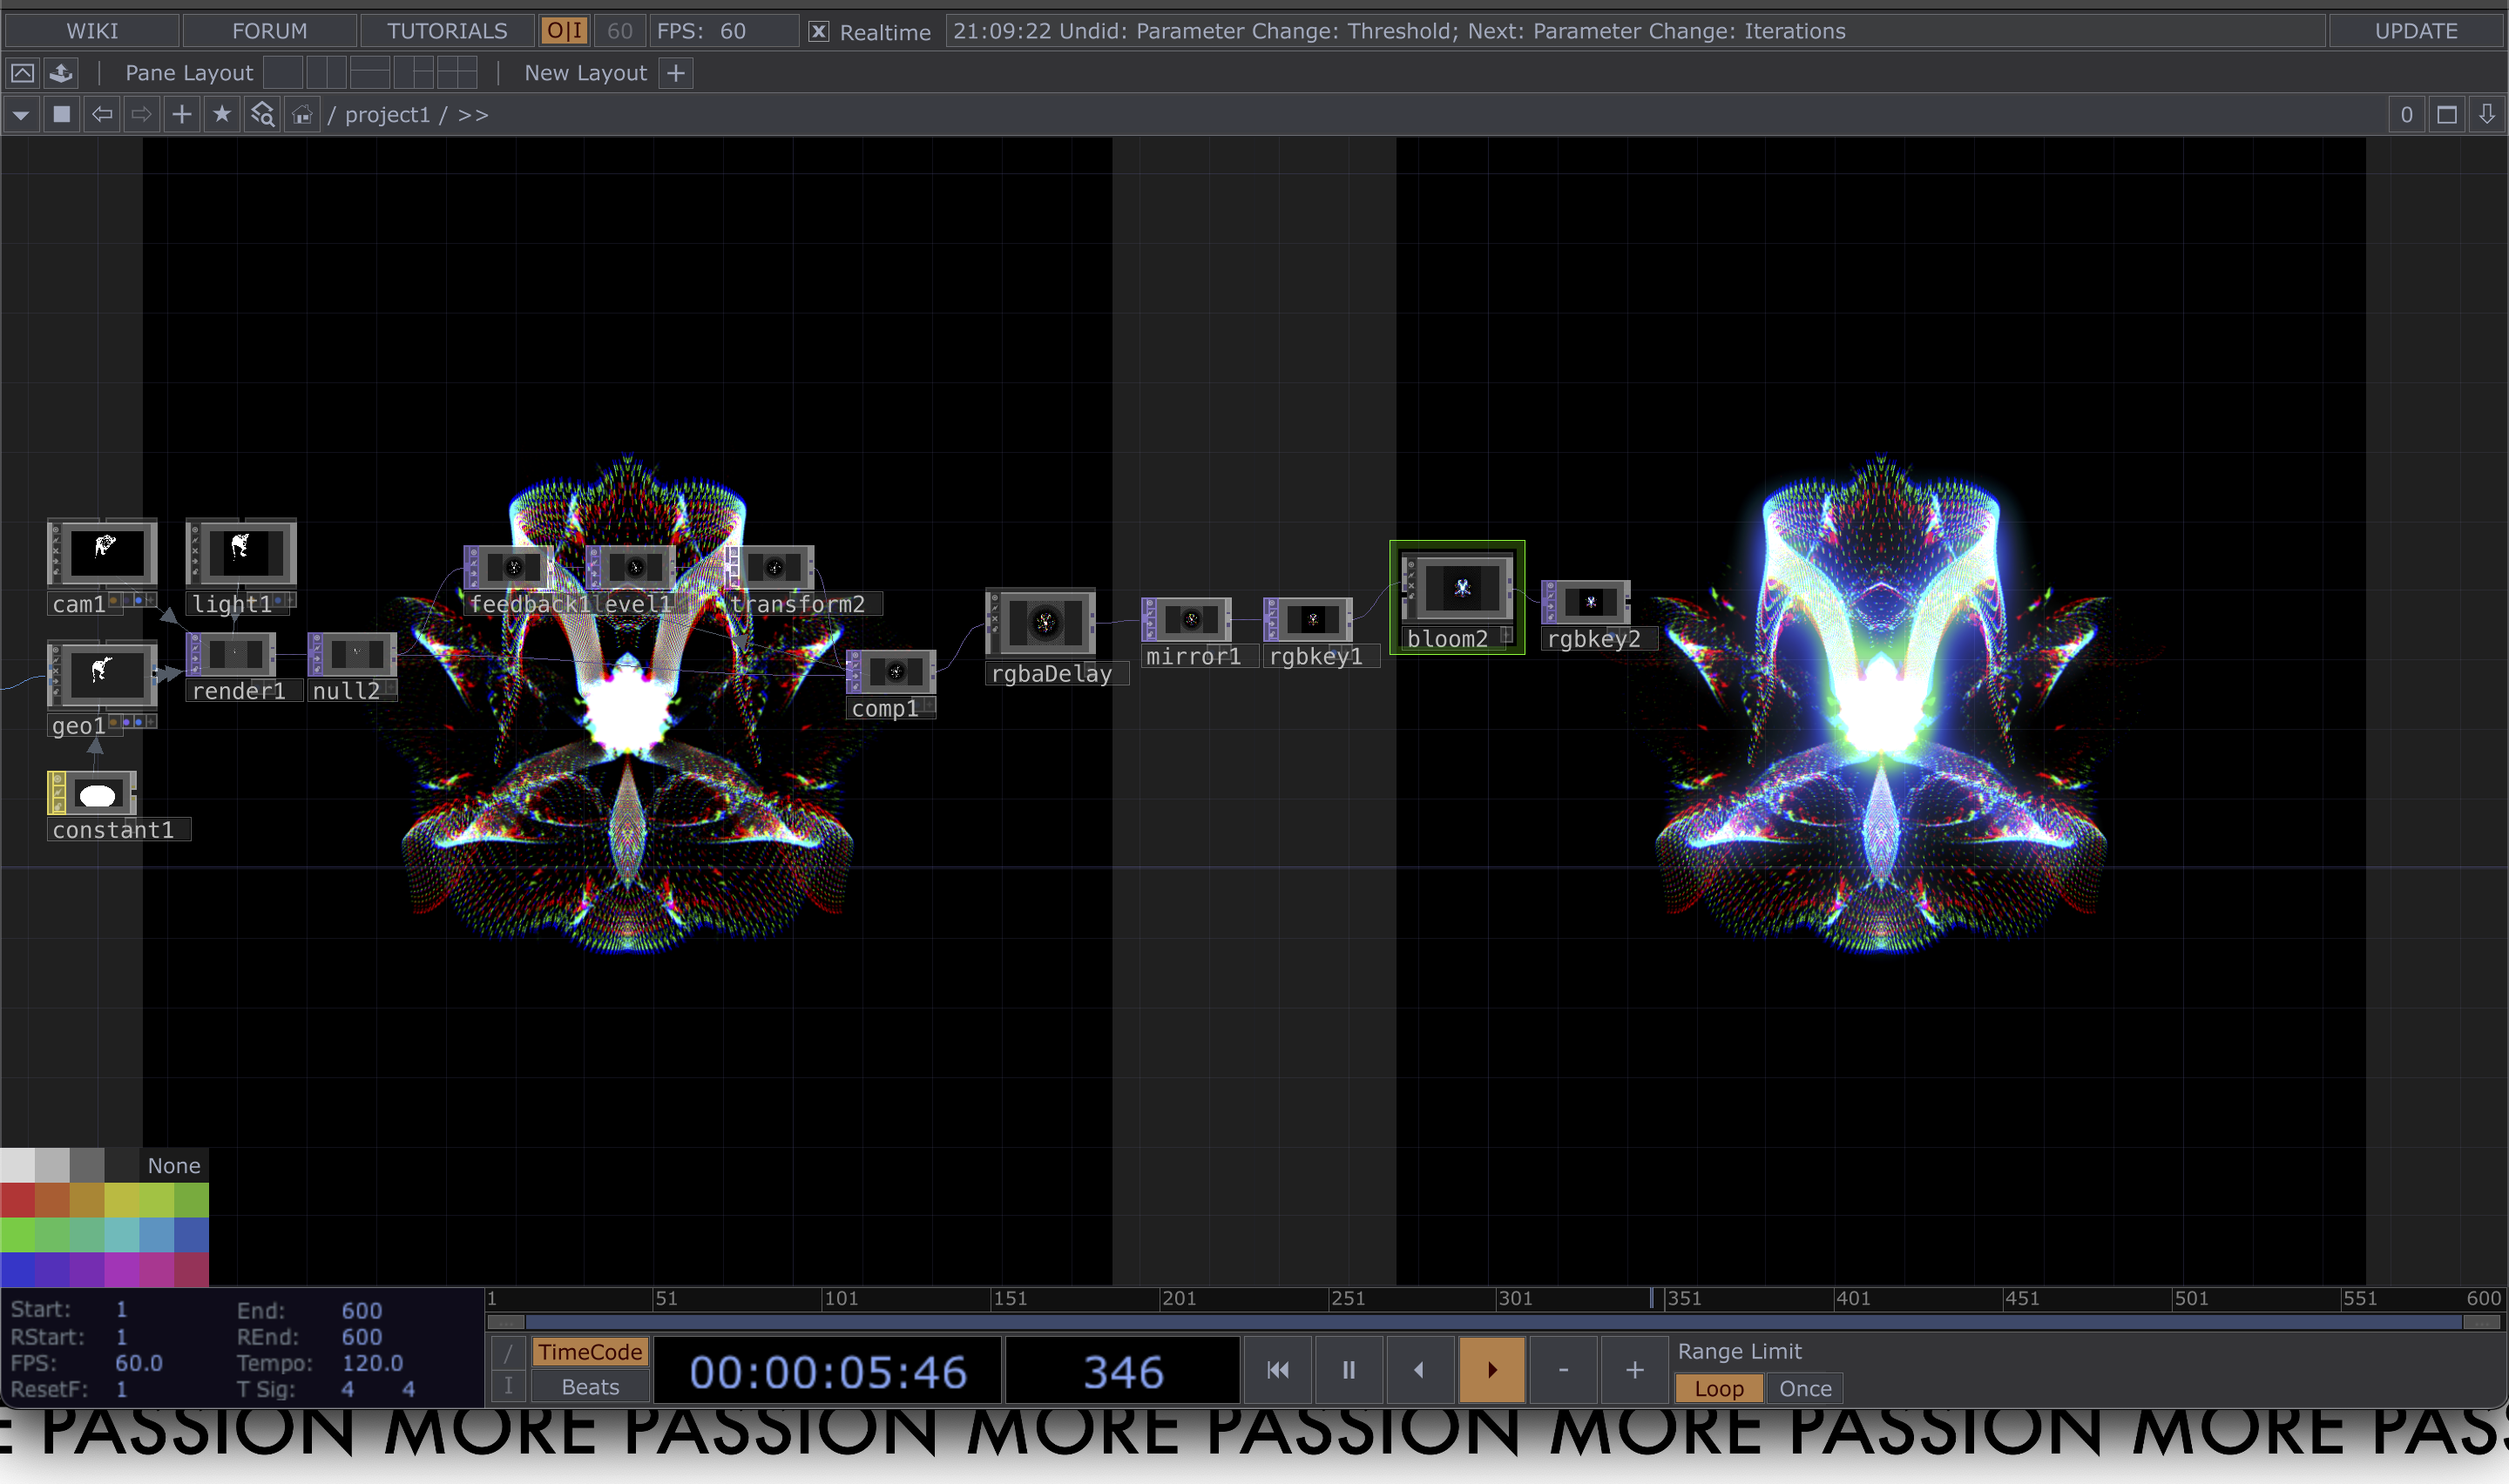
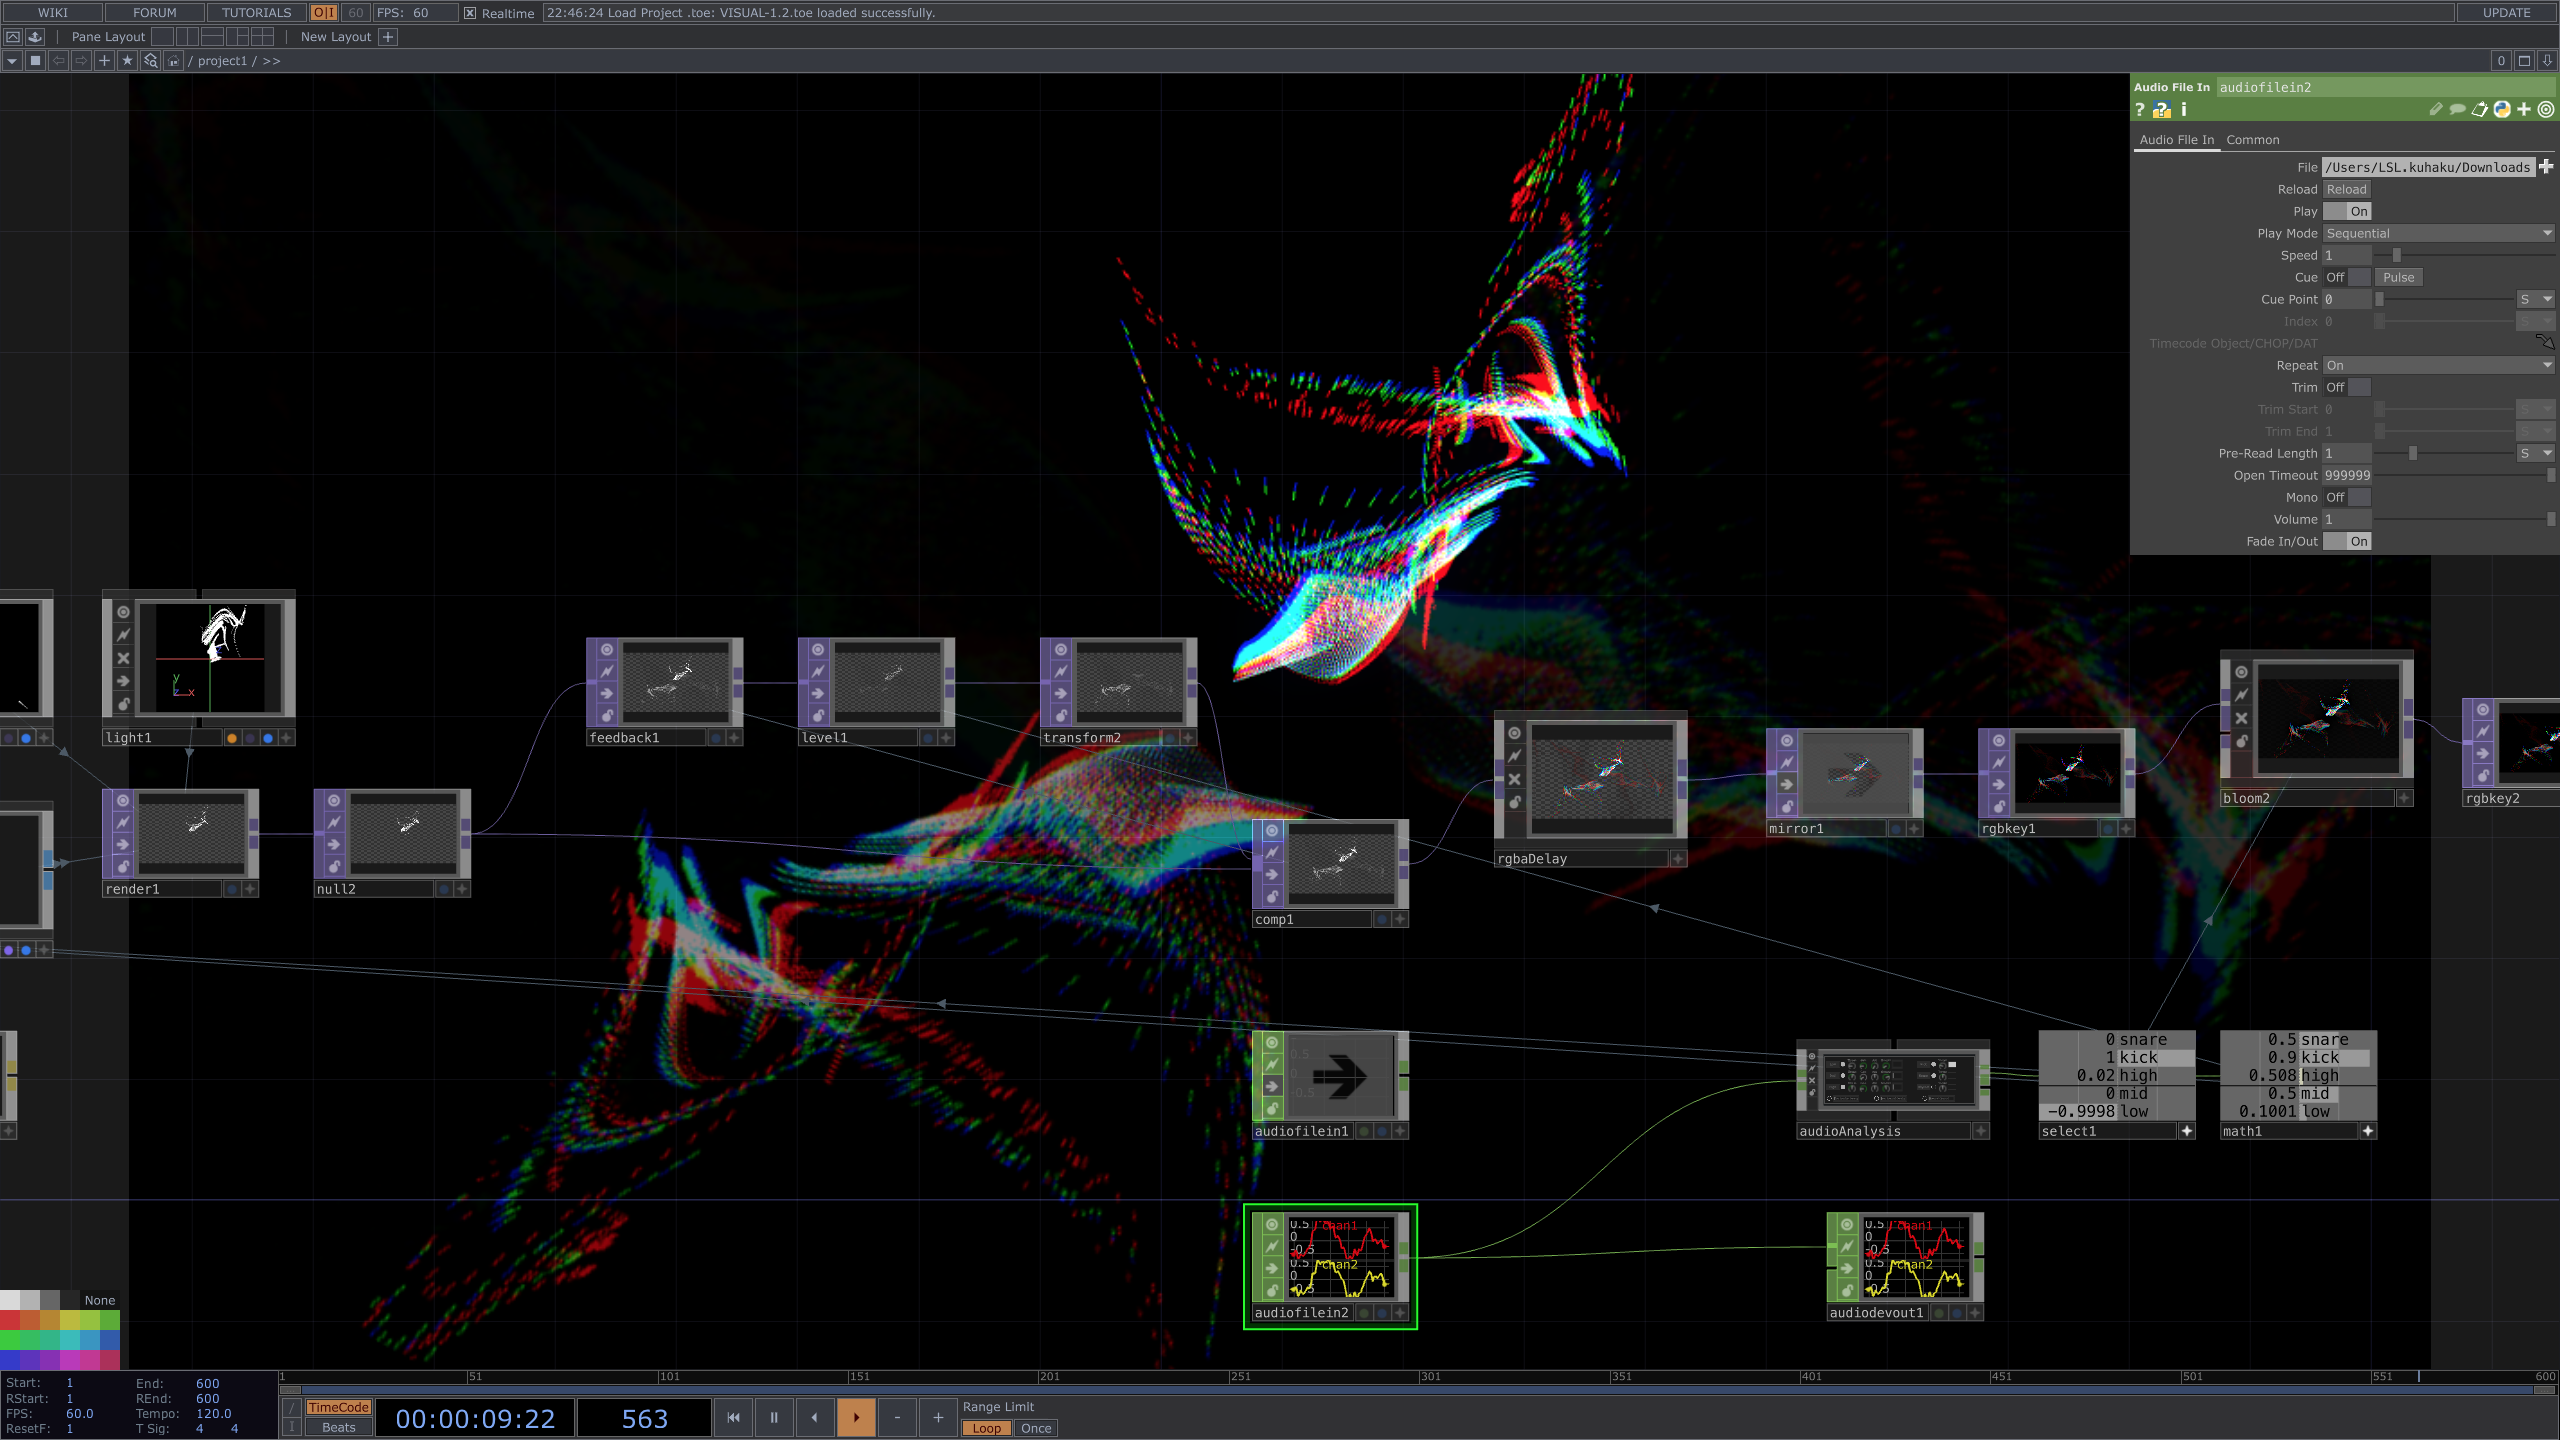
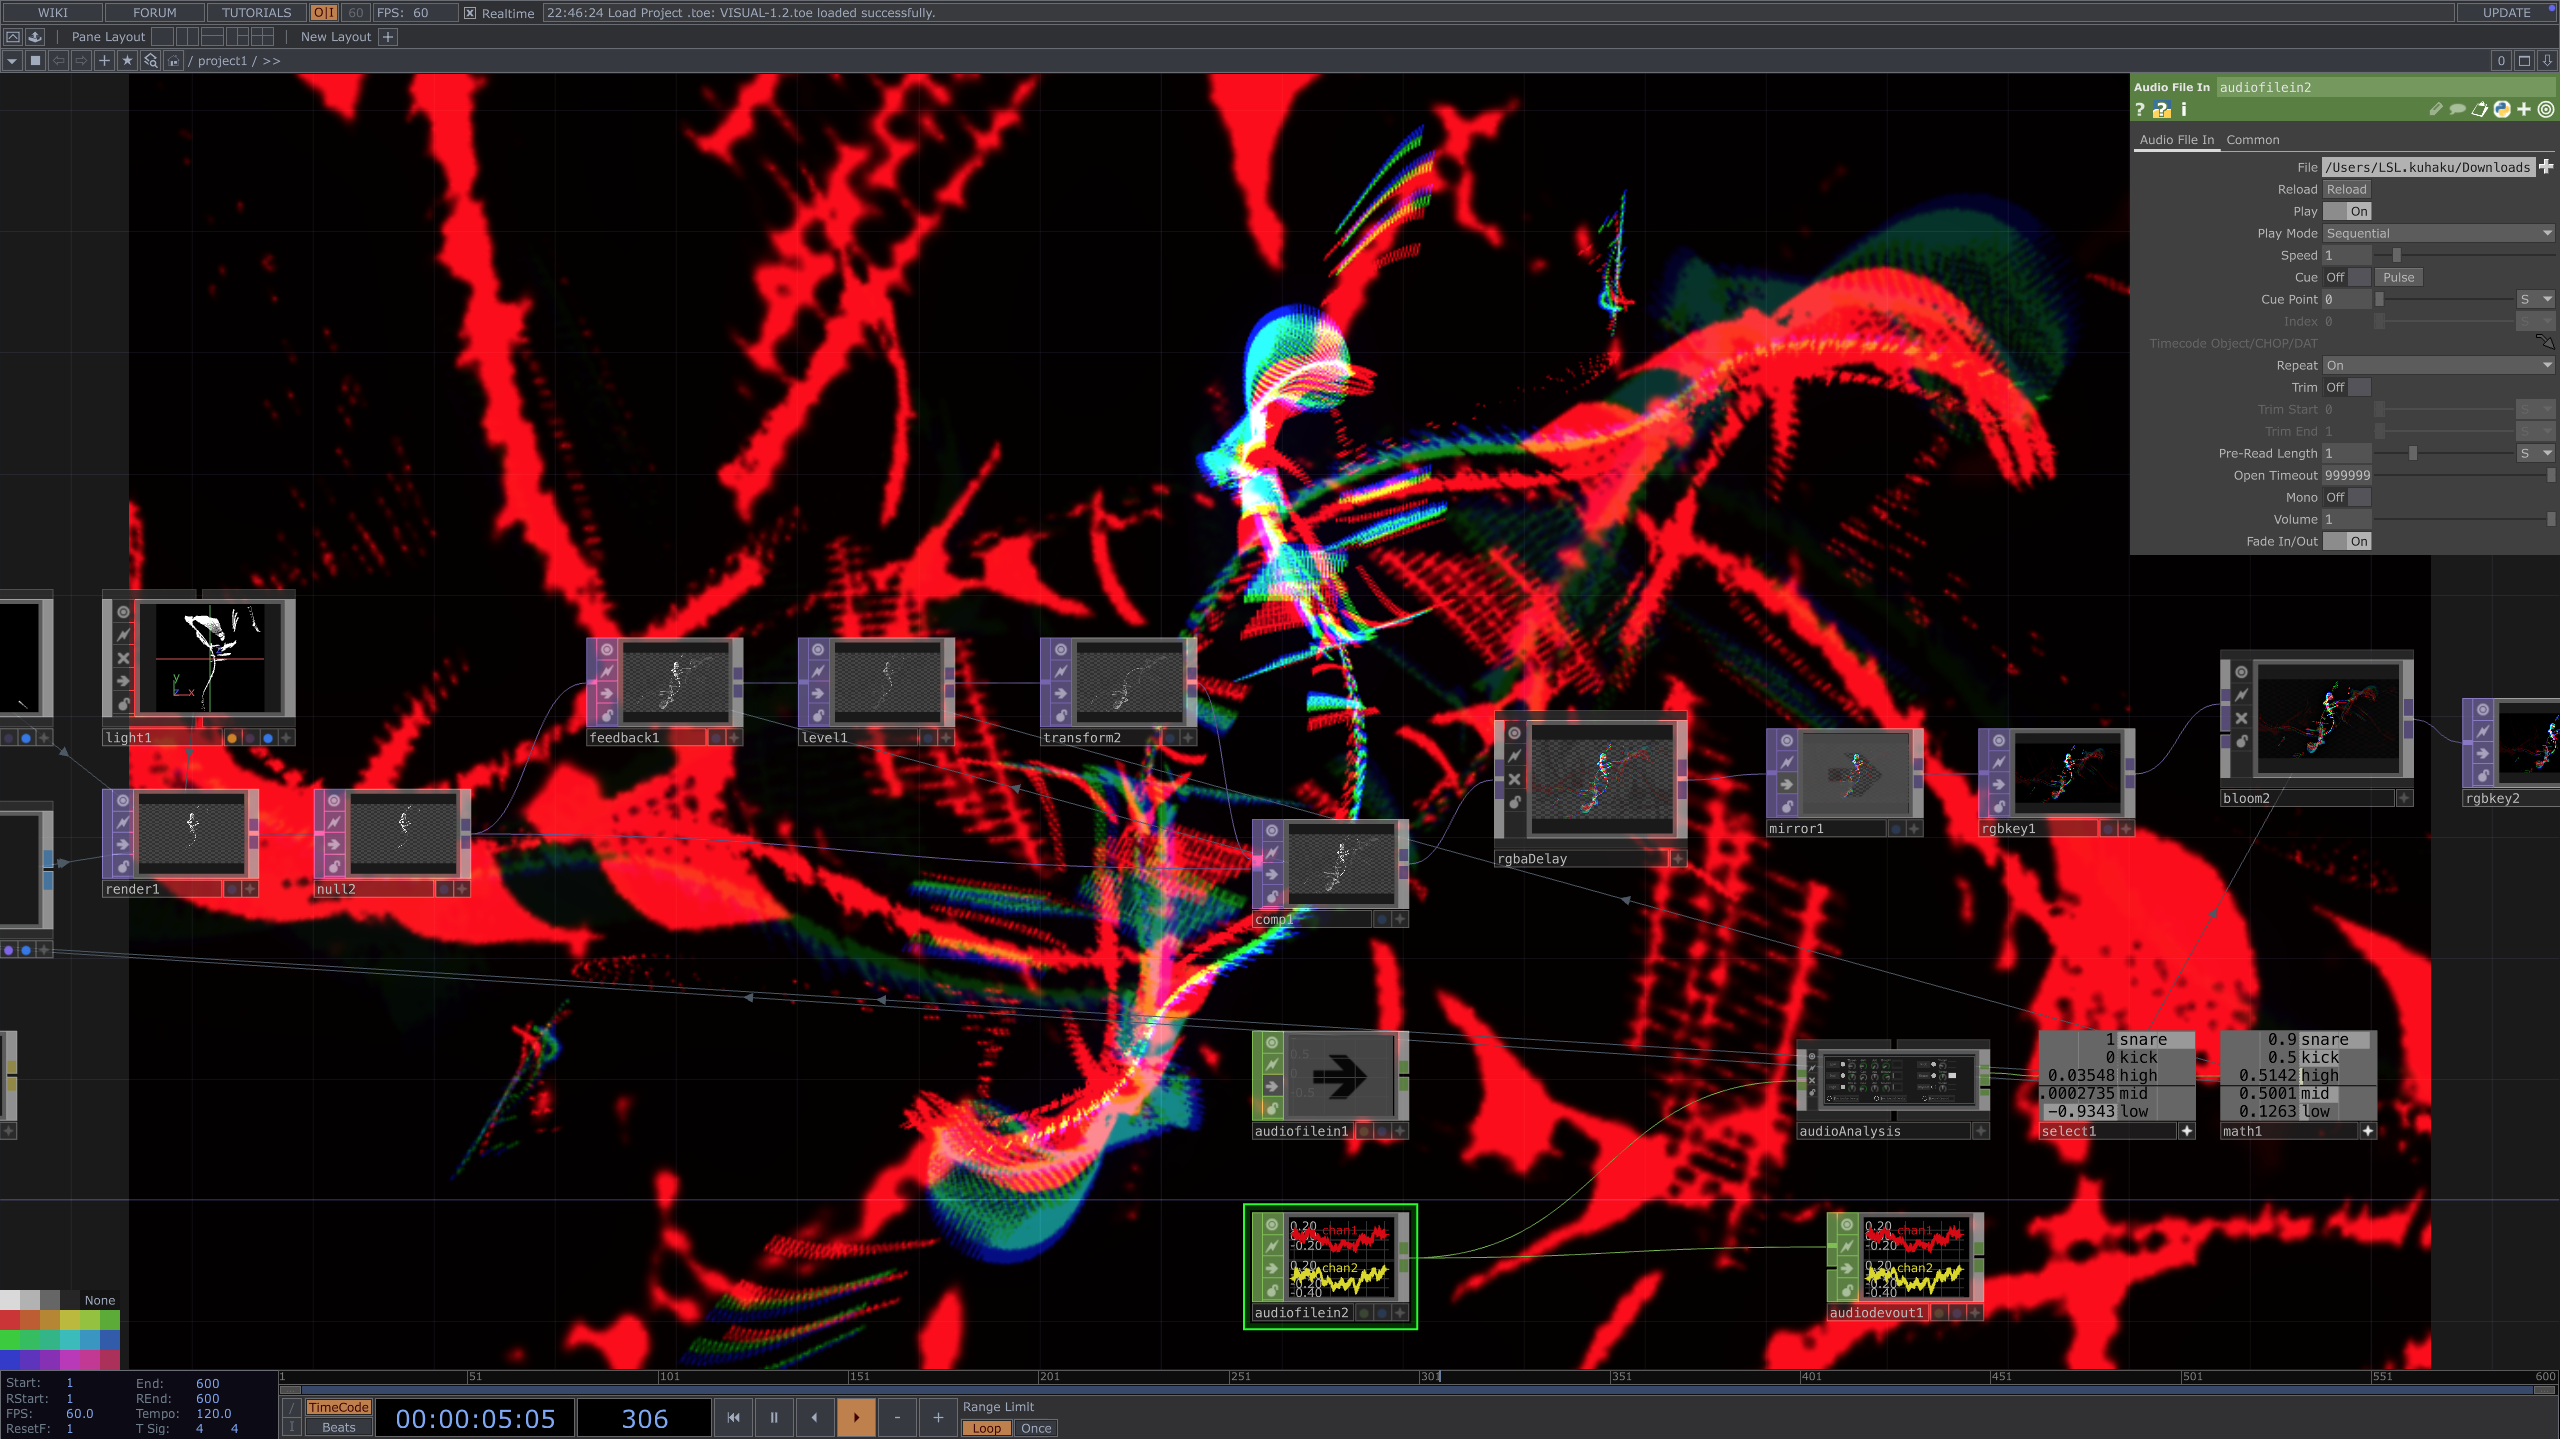
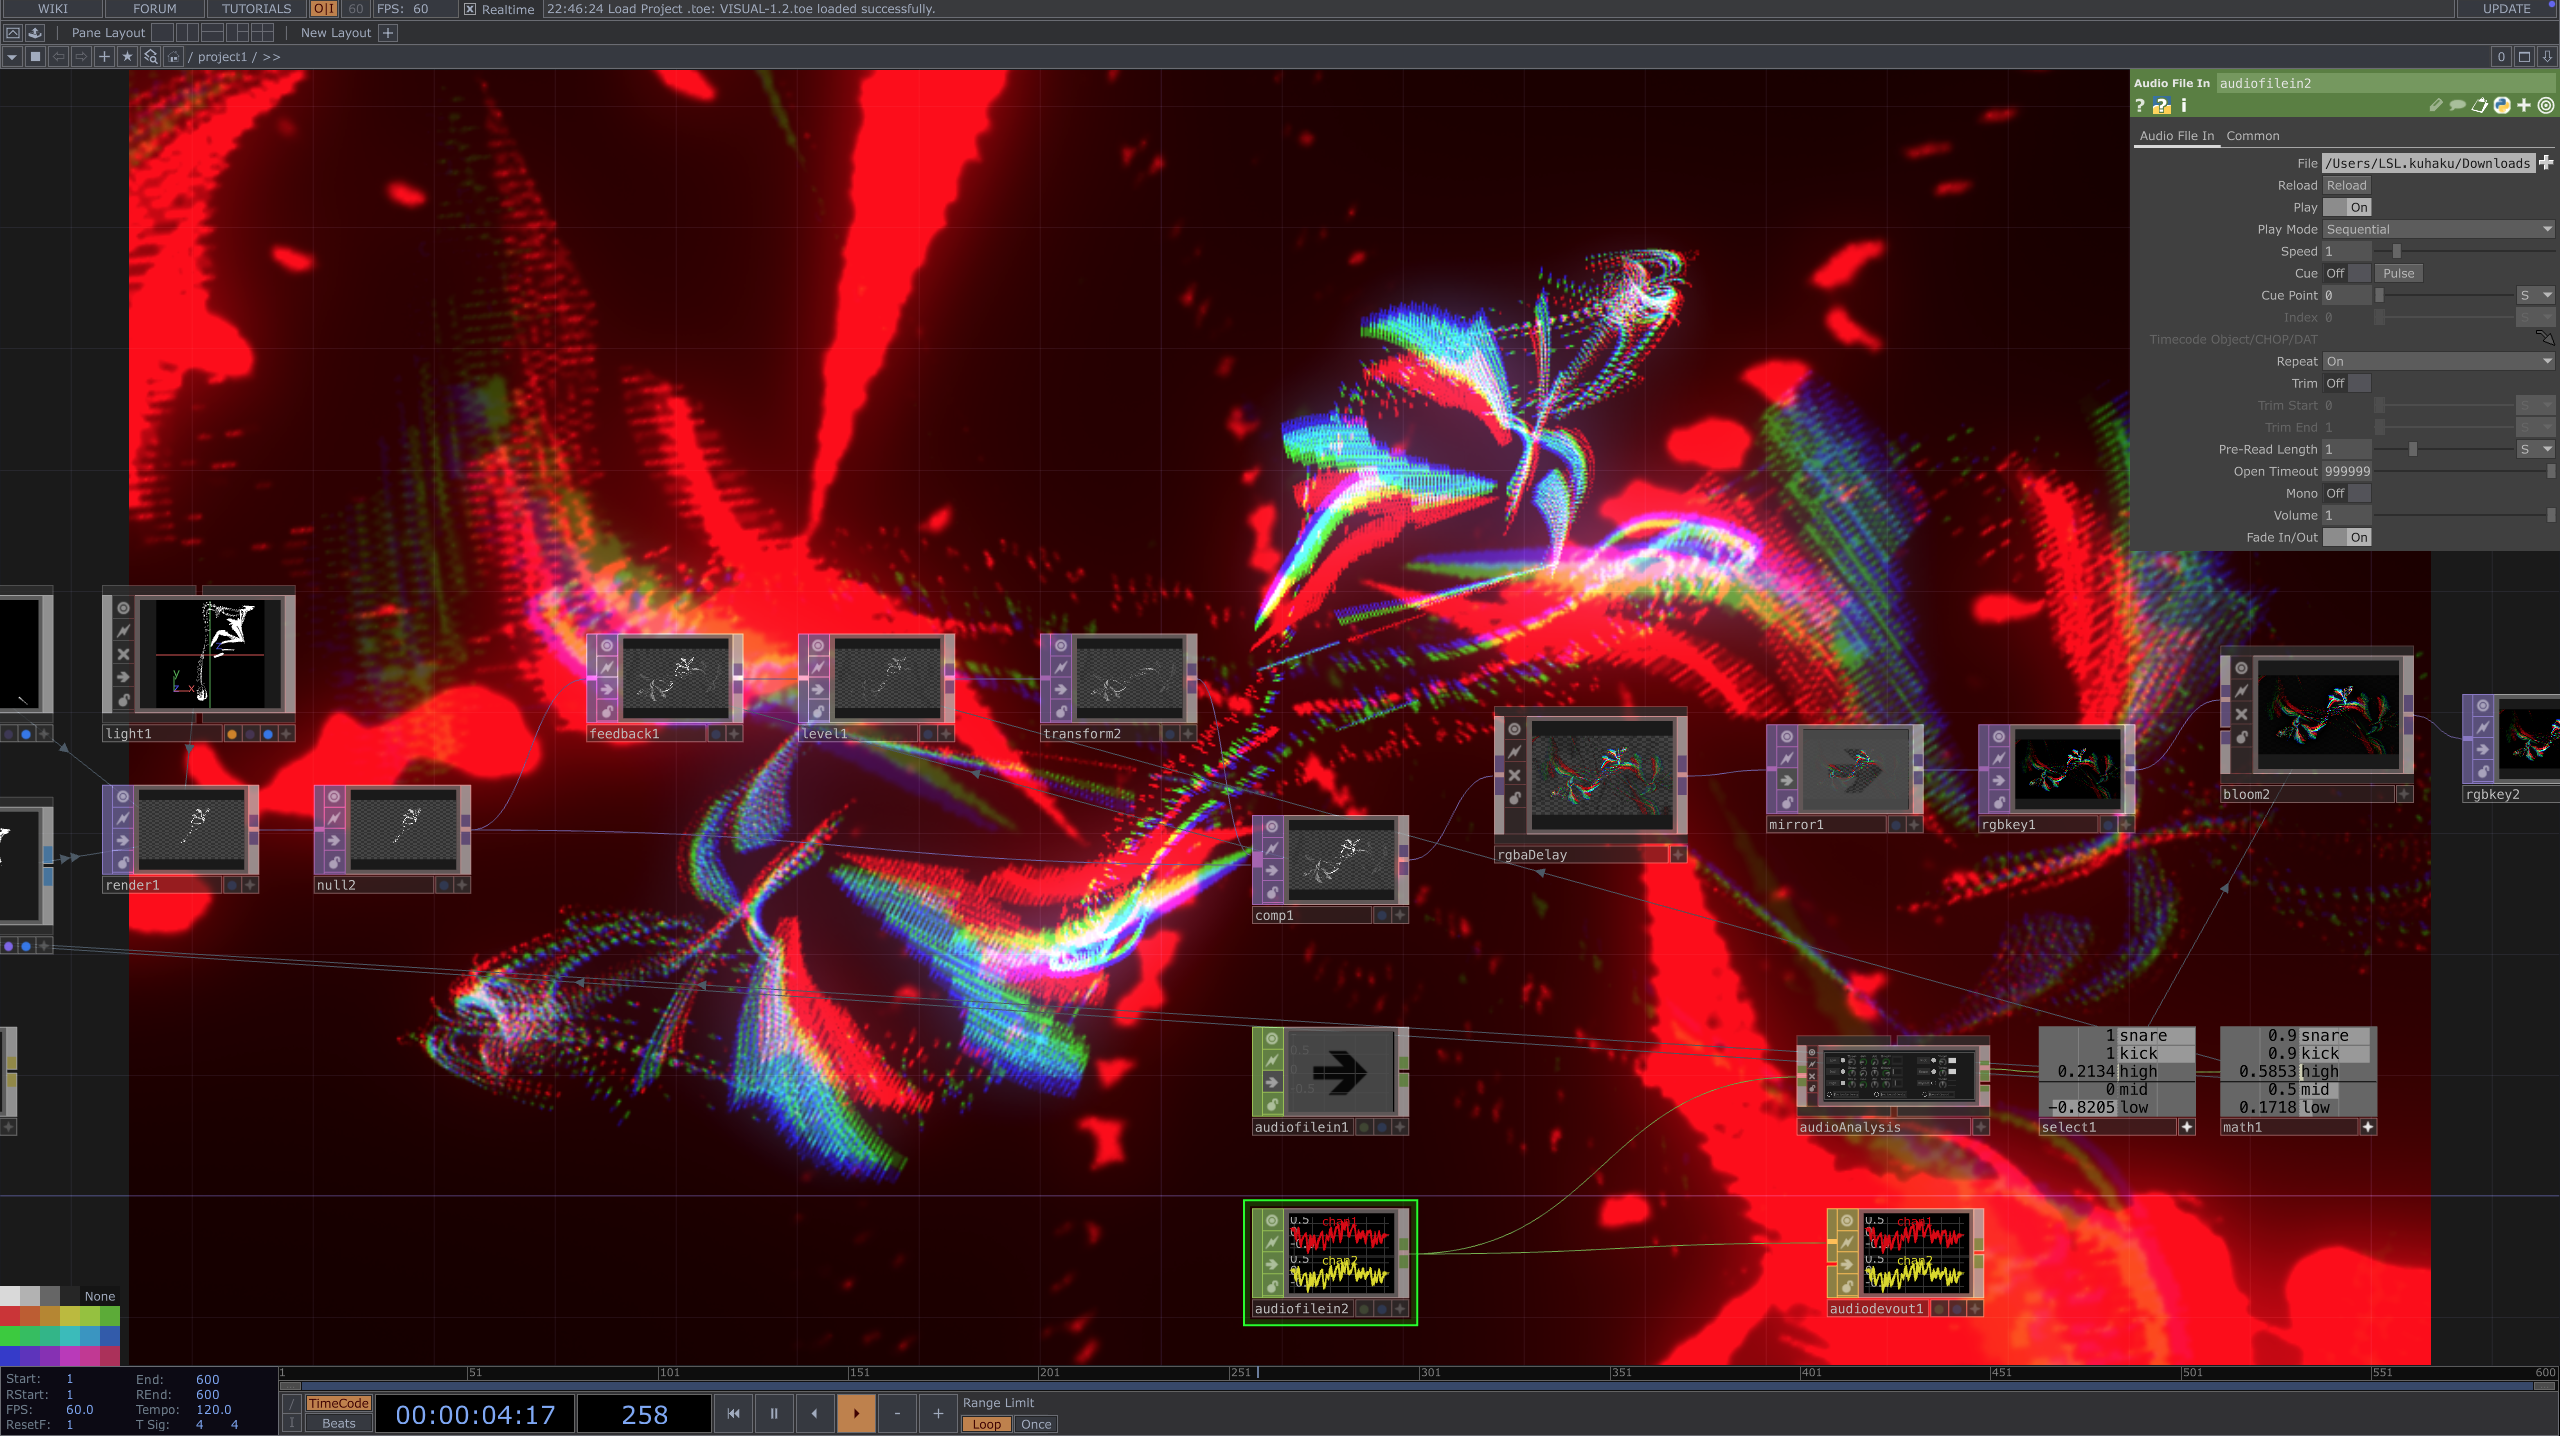
The TouchDesigner visual work was running alongside the hardware this week. Building the nodes here and there, working through how the sensor data maps to visual output. In the making process, each one clarifying what the next decision needs to be.
The first round of general participant user testing also happened this week. These aren't practitioners, just people willing to try the prototype. That's intentional: it's useful to see how someone completely unfamiliar with the tool approaches it before running sessions with performers who might bring their own assumptions about what a performance tool should feel like.
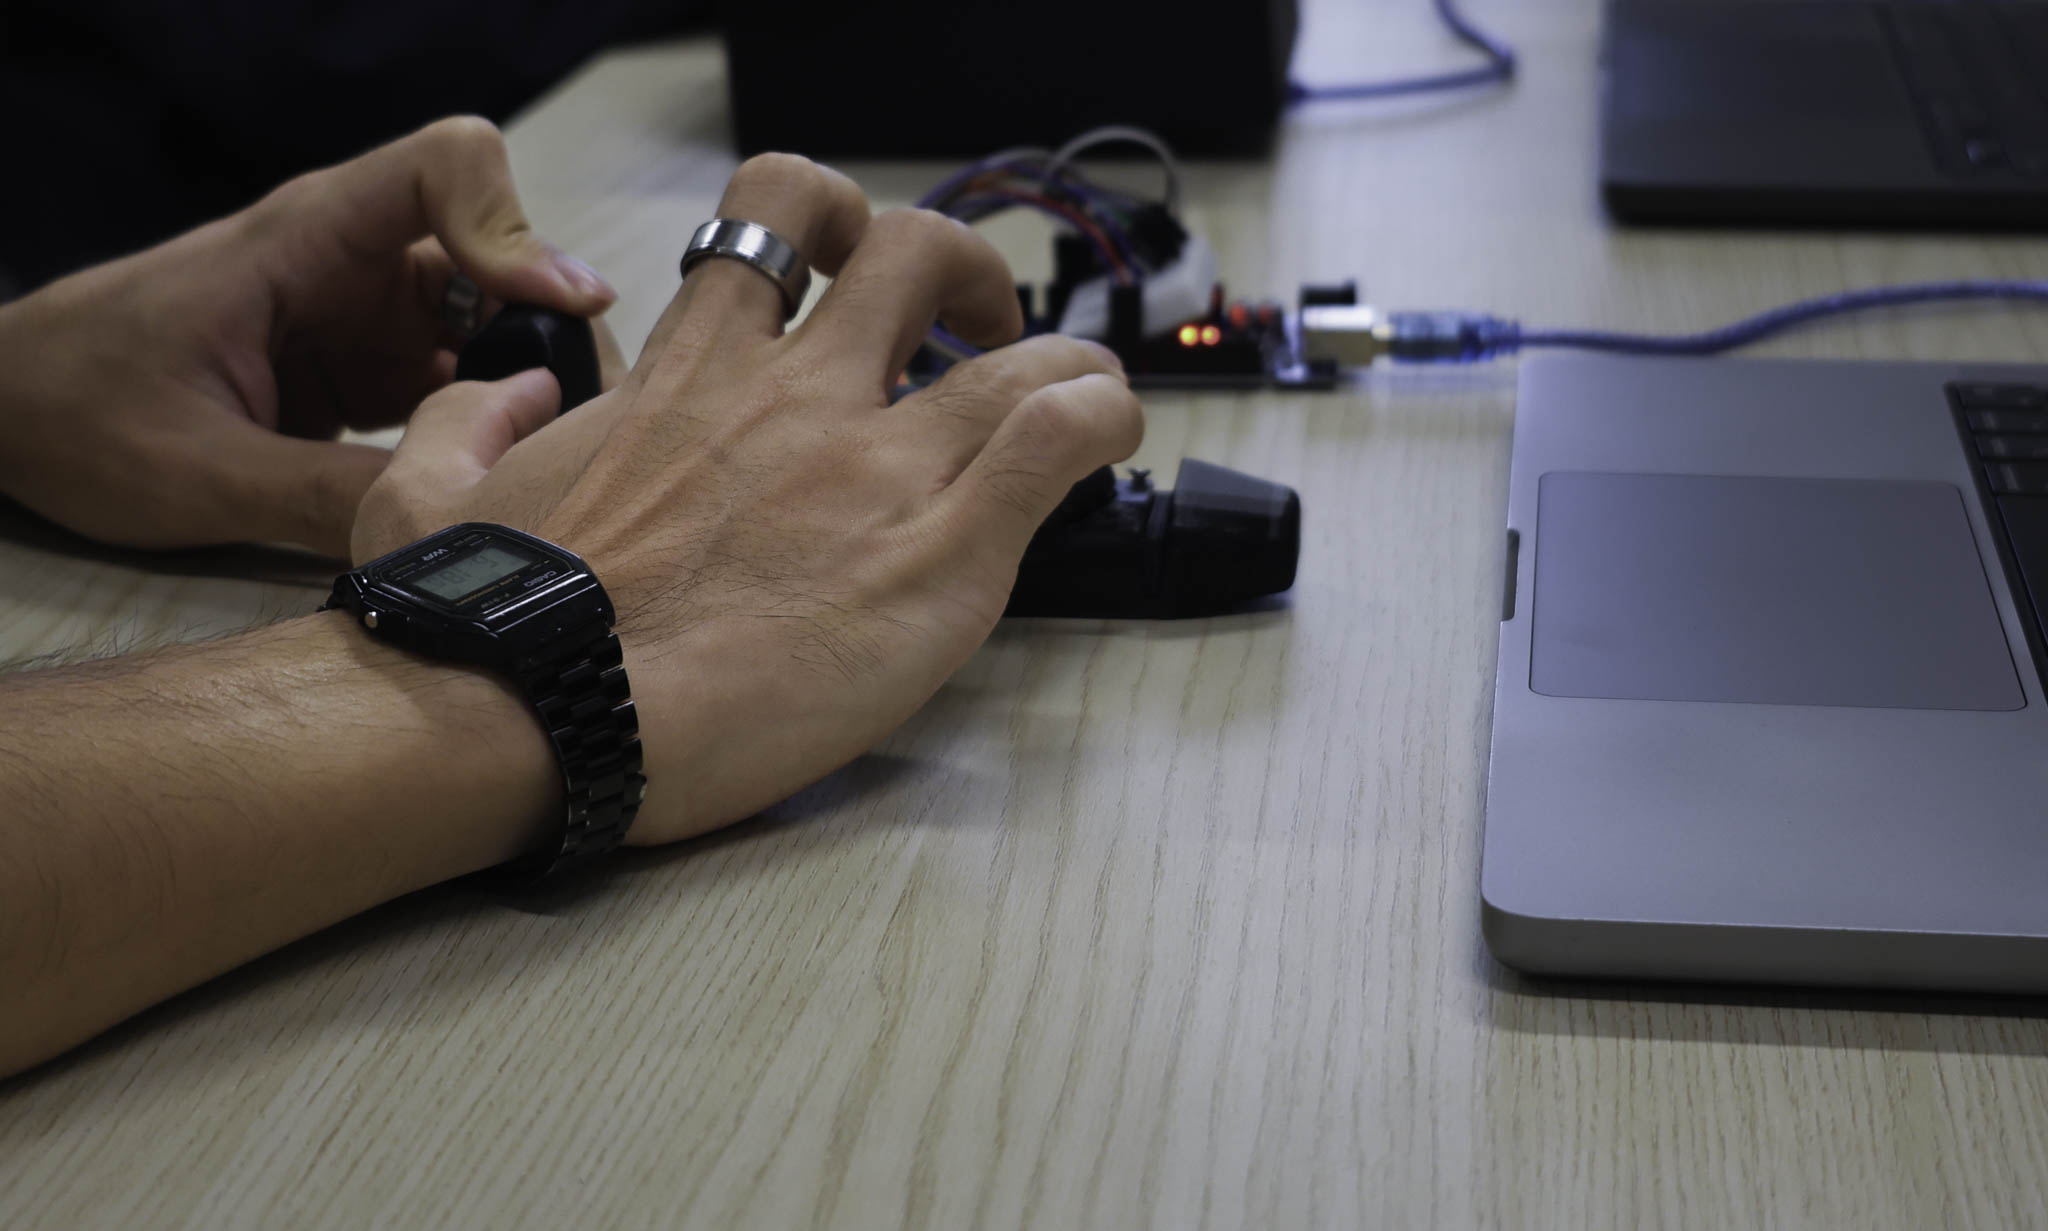
Getting the prototype in front of people at this stage, even when in prototyping phase, surfaces things you can't see from inside the making. How someone picks it up, where they put their hands, what they expect to happen: that's something that I discovered rather than working it by myself.
The wood casing also got tested this week. The shift from 3D printed parts to wood changes how people handle the object. It reads as more finished than it is, which is useful: it pushes participants to engage with the form as a potential tool rather than an obvious prototype.